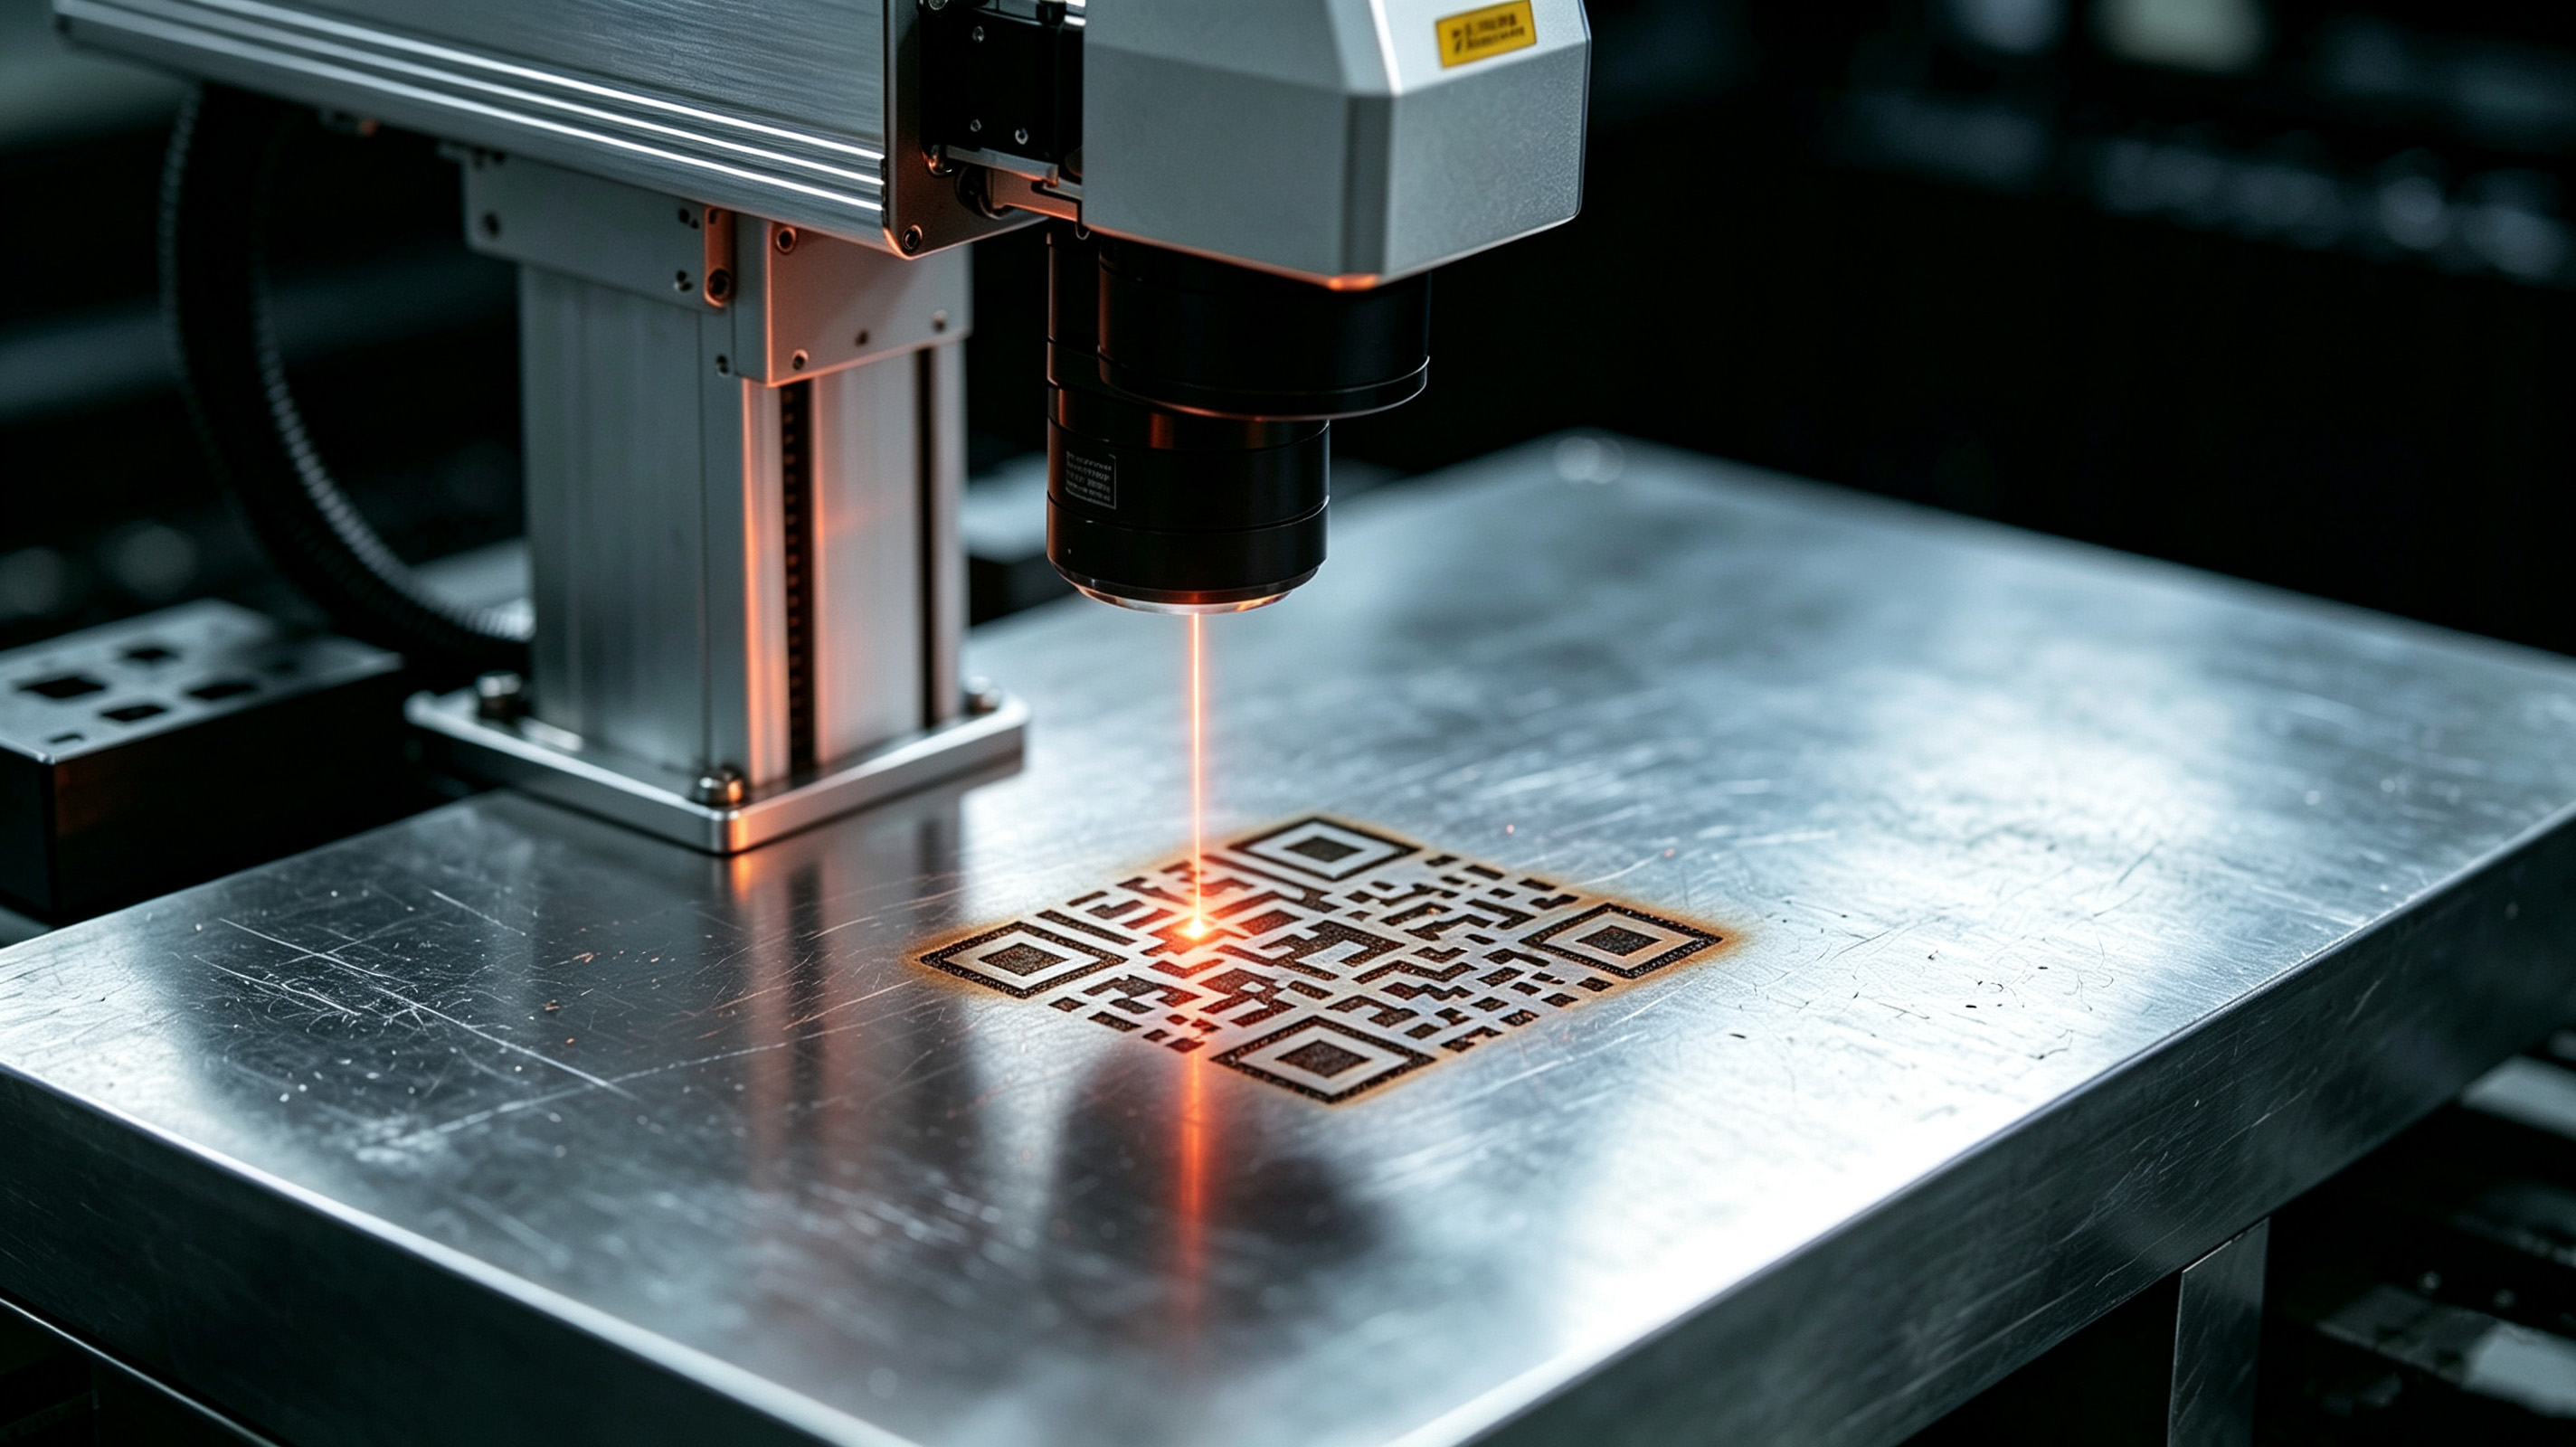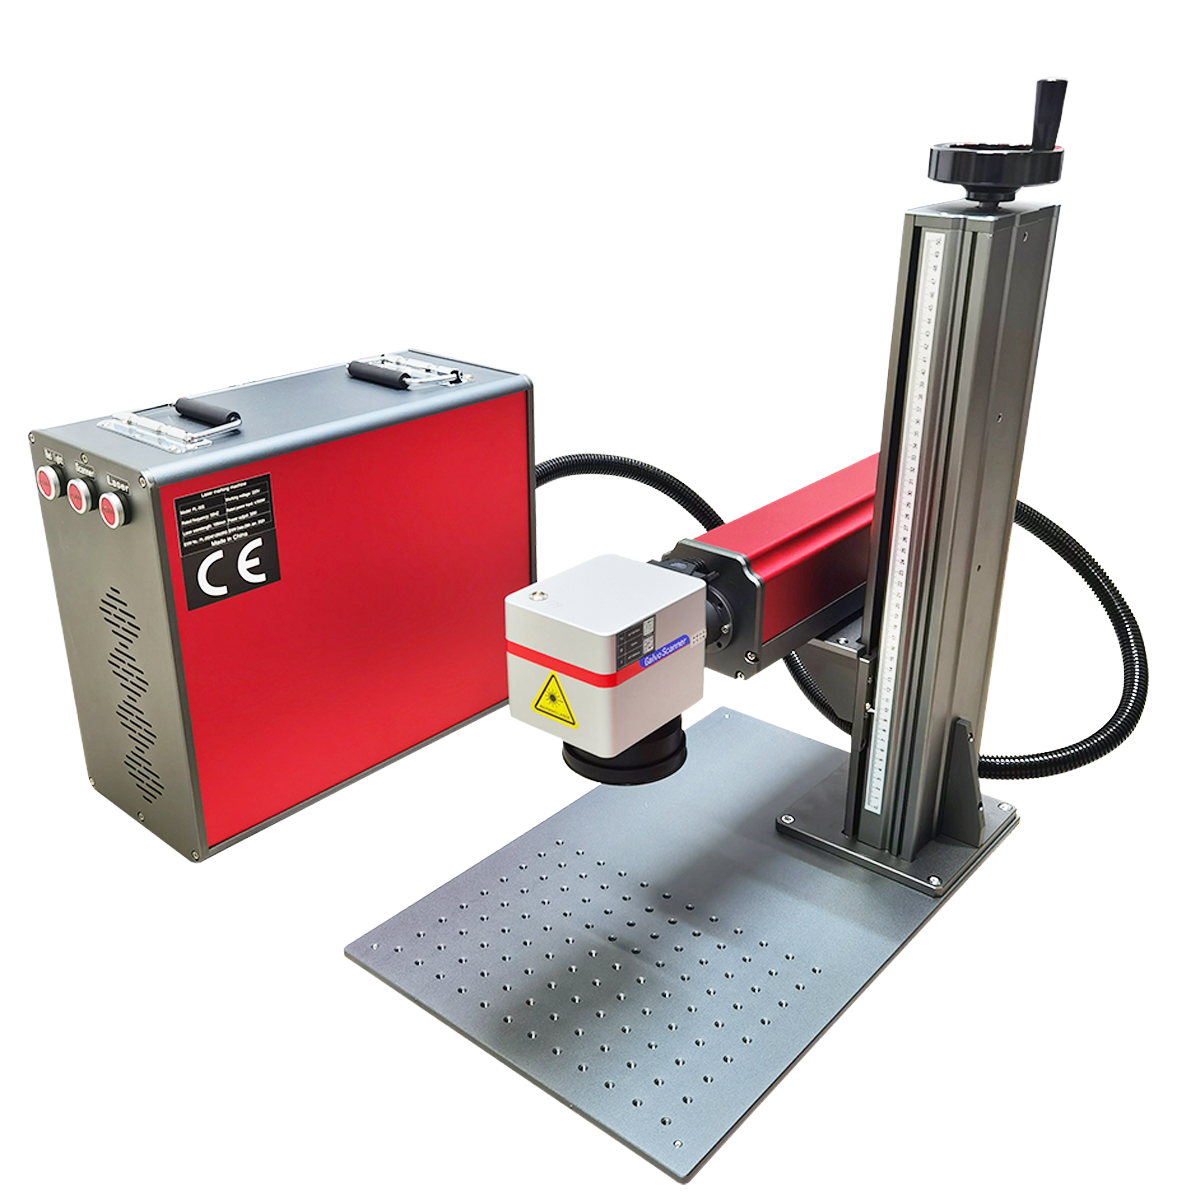
Fiber Laser Power Settings to Fix Your Metal Marks Now
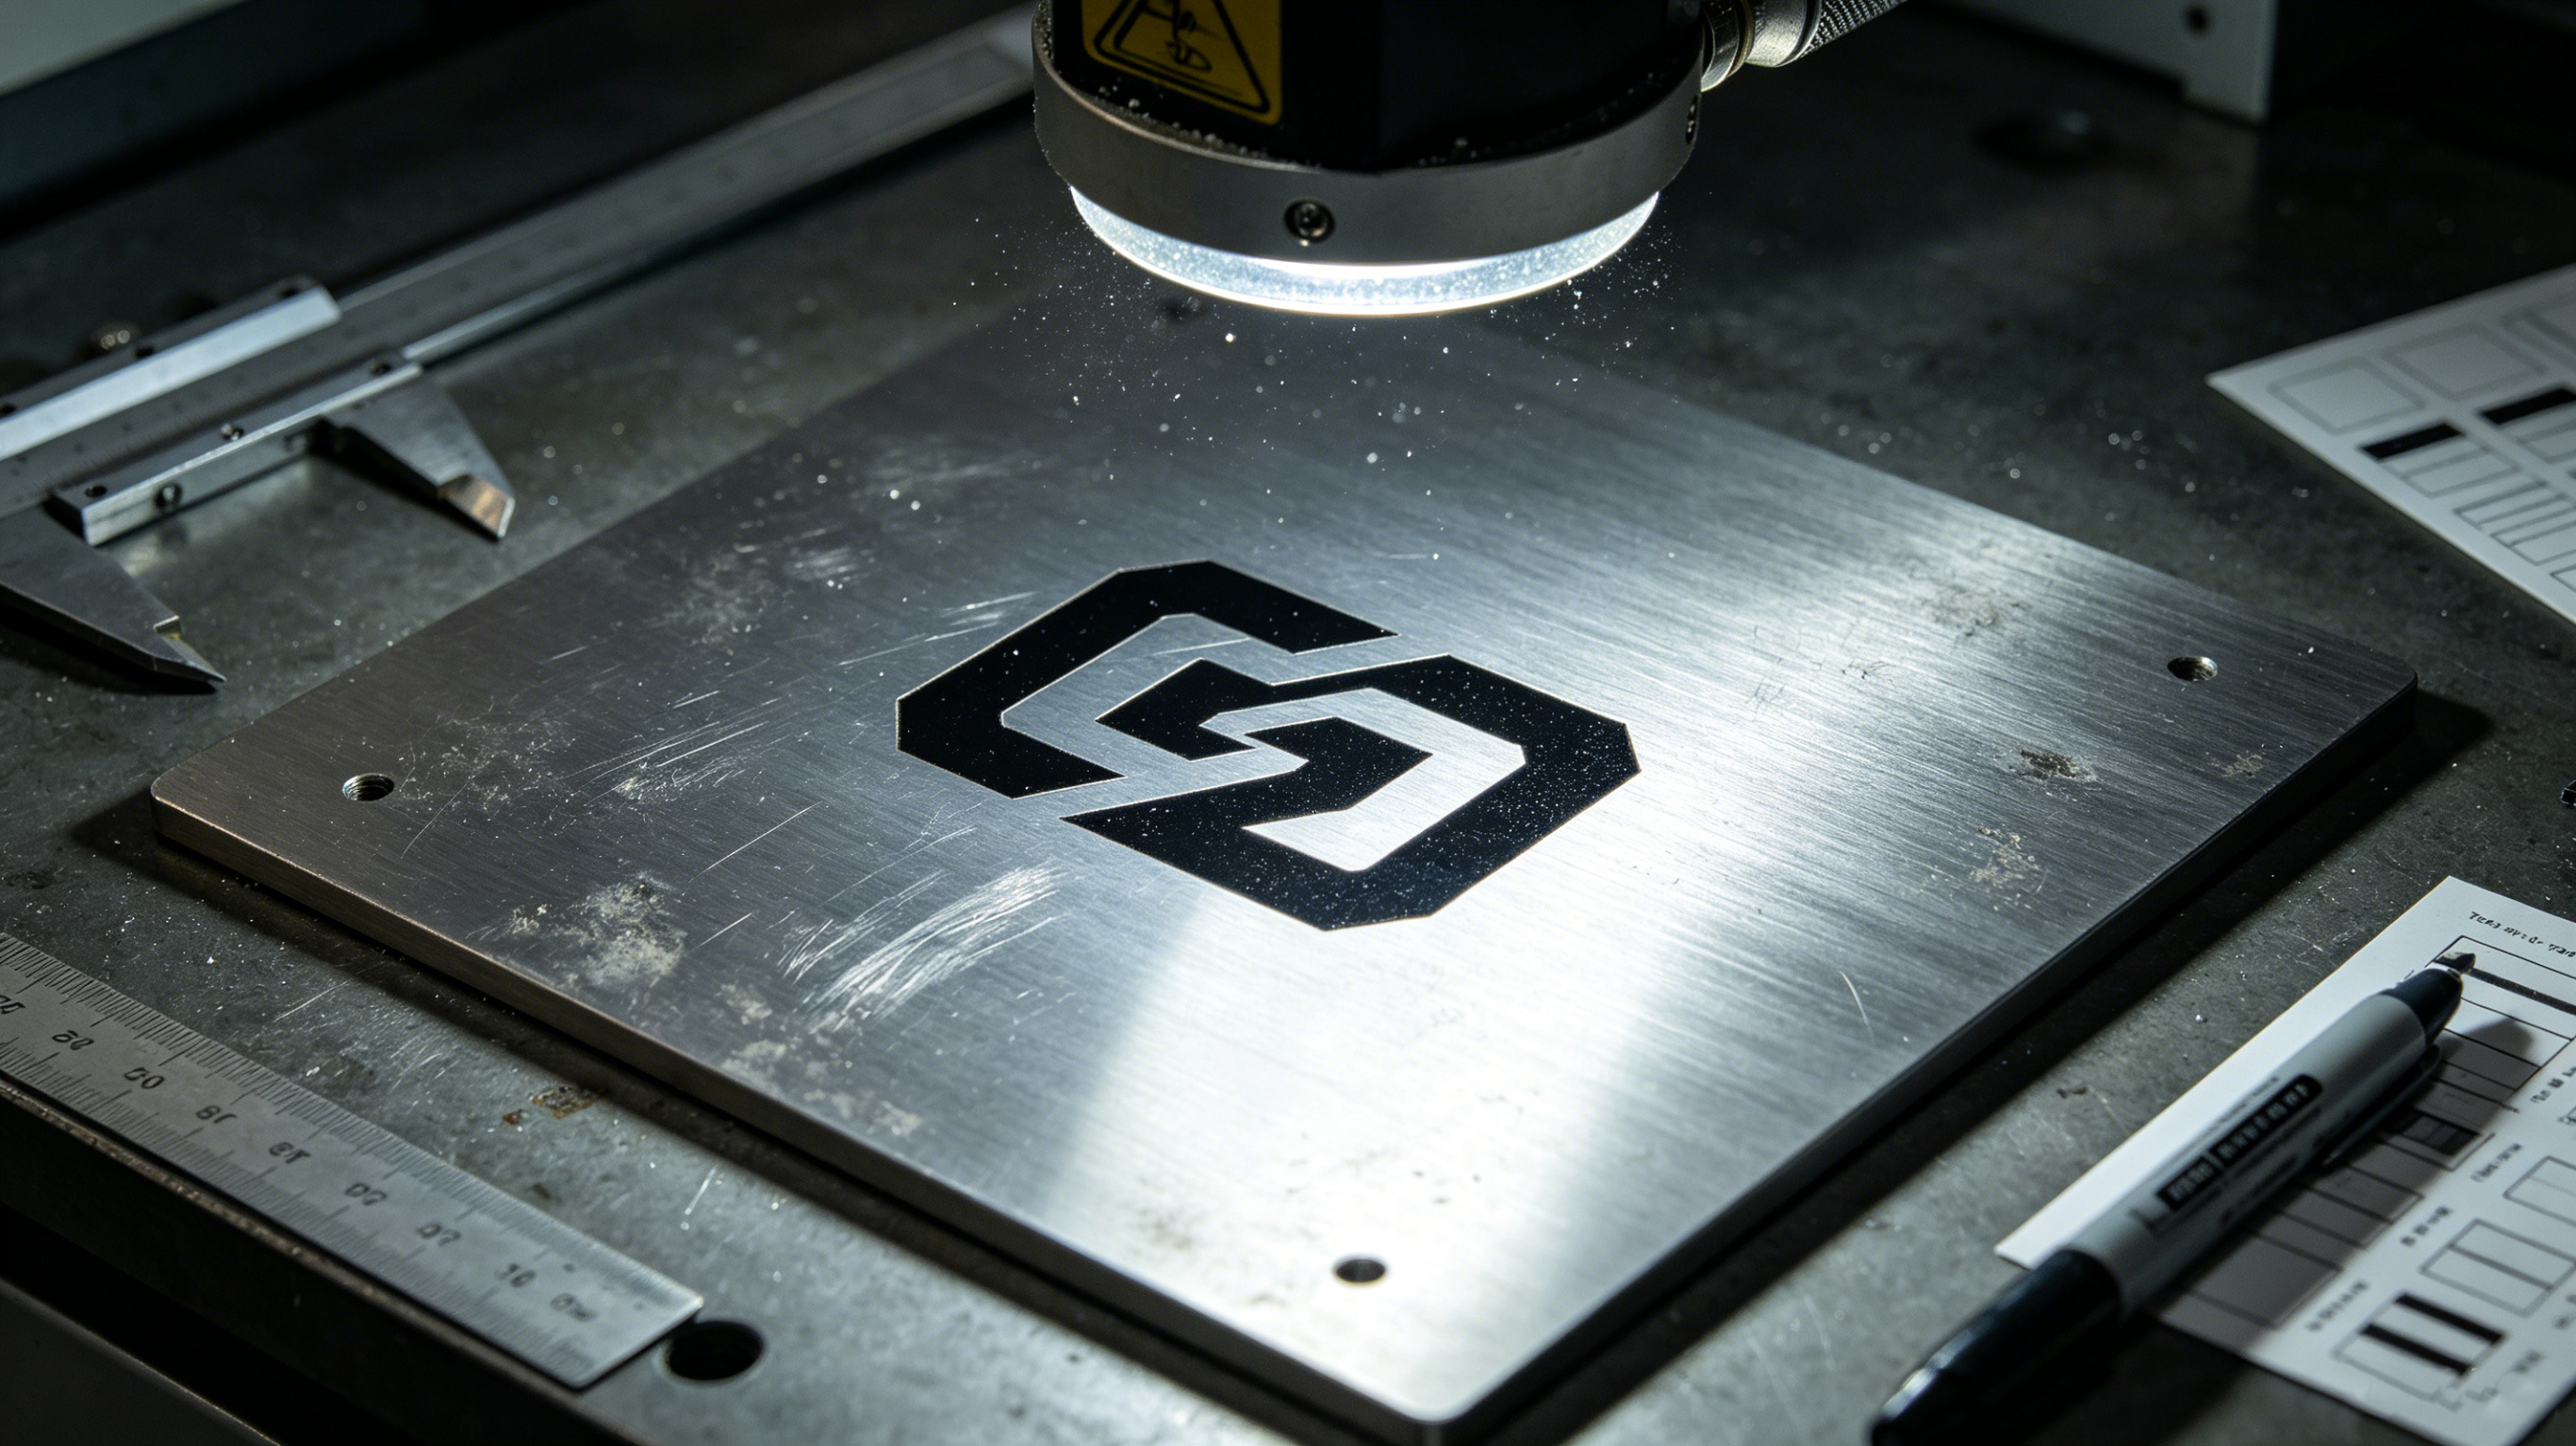
In precision manufacturing, your laser engraver is only as good as the person running it. The same global laser machine that produces crisp, dark marks on one operator's parts can turn out faint, blurry, or burnt results on another's. The difference? Understanding how power, speed, frequency, and pulse width interact with each metal. Whether you're marking stainless steel, aluminum, or reflective brass, getting your global laser settings right separates professional results from costly rework.
Stainless Steel: Mastering Surface Oxidation and Annealing
Stainless steel is one of the most forgiving metals to mark—when you know what you're doing. The goal with stainless is typically a dark, high-contrast mark achieved through annealing: heating the surface to form an oxide layer without removing material. This preserves the surface finish and corrosion resistance while delivering crisp, readable marks.
Start with a baseline around 20–60W power, 30–120 kHz frequency, and 1.5–3.5 m/s speed for a 1064nm global laser machine. For a mid-power system (around 30W), a tested starting point is 1500 mm/s speed, 80 kHz frequency, and Q-Pulse of 5. Always run a small test square first—different finishes (brushed vs. polished) react differently, even on the same grade of steel.
The key to dark, consistent marks on stainless is controlling the oxide layer. MOPA global laser systems give you precise control over pulse duration, enabling oxidation-based contrast without surface swelling. Too much power or too slow a speed will burn or distort the mark; too little and you'll get a faint, barely visible result.
Aluminum: Achieving High Contrast Through Conductivity Control
Aluminum presents a different challenge. It conducts heat away from the mark zone quickly, making it harder to build contrast. Raw aluminum typically produces lighter marks and may require multiple passes.
Higher power often works best—30 to 50 watts helps overcome aluminum's natural reflectivity. For anodized aluminum, you can achieve sharp, bright marks by intentionally taking the global laser machine out of focus. Defocusing by +0.06" to +0.09" broadens the beam and produces a very bright mark on anodized coatings. For raw aluminum, you may need to slow down your speed and increase power to get adequate contrast.
One effective strategy for aluminum is using a MOPA global laser with precise pulse control, which enables annealing (black) marking on aluminum through controlled heat input. Running multiple passes at moderate power often yields better results than one high-power pass that can cause distortion.
Brass and Copper: Managing Reflection Risks
Brass and copper are the trickiest metals to mark because they're highly reflective. The global laser machine wavelength (1064nm) is absorbed better by these materials than CO₂ lasers, but they still require careful parameter tuning.
For brass and copper, you typically need slower speeds and higher power. A 1064nm global laser is effective for brass marking, but surface finish matters—polished vs. unpolished brass affects contrast significantly. Annealing (heat-induced oxidation) can produce dark marks without material removal, which is often preferable on brass components.
A common mistake on reflective metals is running too fast with insufficient power—the beam reflects off the surface without leaving a mark. Slowing down and increasing power density gives the global laser machine enough time to couple energy into the material. For copper, dark and light markings can be achieved simultaneously on the same sample by adjusting speed, power density, frequency, and raster pitch.
Technical Parameter Matrix: Metal Marking Standards
Here's a quick reference starting point for common metals on a global laser with a 100mm lens:
| Material | Power (W) | Speed (cm/s) | Frequency |
|---|---|---|---|
| Stainless Steel | 8 | 25 | CW / ≥50kHz |
| Aluminum | 10 | 10 | CW / ≥50kHz |
| Brass | 10 | 15 | CW / ≥50kHz |
| Copper | 10 | 10 | CW / ≥50kHz |
| Titanium | 5 | 30 | CW / ≥50kHz |
Note: These are starting points—always test on scrap material first.

Beyond Power: The Role of Frequency and Pulse Width
Power isn't everything. Frequency and pulse width are equally critical for achieving professional results on a global laser machine.
Frequency (kHz) controls how many pulses per second the laser emits. Higher frequencies (80–100 kHz) tend to produce smoother, darker marks on stainless steel. Lower frequencies can create more aggressive material removal but may leave rougher surfaces.
Pulse width (ns) determines how long each pulse lasts. Longer pulses deposit more energy per pulse, which can be useful for deep engraving on tougher materials. Shorter pulses are better for annealing and color marking, where you want to control heat input precisely. MOPA global laser systems allow adjustable pulse width, giving you finer control over marking effect.
Advanced Hatching and Cleaning Strategies
For deep, durable marks, use a cross-hatch pattern (90° angle between passes) with high loop counts and tight line spacing (around 0.02mm). This ensures even material removal and consistent depth.
Surface preparation matters more than many operators realize. Clean your metal with isopropyl alcohol before marking to remove oils and dust that can scatter the beam. And never skip focus calibration—even a 1mm focus error can blur the engraving. Run a ramp test or use your global laser machine's focus tool to verify perfect focus before every job.
If your marks appear weak or blurry, check these common culprits:
-
Too light → Speed too fast or power too low
-
Blurry or doubled → Focus off or material moved during marking
-
Burnt edges → Power too high or speed too slow
-
Lines not crisp → Dirty lens or poor focus
Clean your lens gently with a lens-safe cloth and alcohol every few jobs—a dusty lens scatters the beam and kills effective power on any global laser.
Conclusion
Mastering your global laser settings isn't about memorizing a single chart—it's about understanding how power, speed, frequency, and pulse width interact with each metal's unique properties. Start with proven baselines, run test matrices on scrap, and document what works for each material and finish. With systematic testing and attention to focus, cleanliness, and parameter balance, you'll achieve crisp, consistent, professional marks on any metal using your global laser machine.
FAQs
Why is my engraving pattern uneven across the metal surface?
Uneven marks usually come from inconsistent focus or material movement. If your part isn't perfectly flat or secured, the laser will be out of focus on some areas. Use a jig or magnets to lock the metal in place. Also check your worktable leveling and consider using autofocus if your global laser machine supports it.
Can I use the same settings for different thicknesses of the same metal?
Not always. Thicker materials conduct heat differently and may require adjusted parameters. Always test on a scrap piece of the same thickness before marking production parts. For thin metals, reduce power or increase speed to prevent burn-through; for thick metals, you may need more power or slower speed to achieve adequate contrast.
Why does my brass engraving look blurry?
Brass is highly reflective, which can scatter the laser beam and create fuzzy marks. Try these fixes: slow down your speed to give the global laser more time to couple energy, increase power slightly, and ensure your focus is absolutely precise. A MOPA global laser machine with adjustable pulse width can help you fine-tune heat input for cleaner marks on brass. Also check your lens for dust—contamination scatters the beam and worsens blurriness on reflective materials.
Ready to dial in your global laser settings for perfect metal marks? Contact ZGLC Laser for expert support and application testing.
Where to Buy Industrial Laser Markers: Your Complete Sourcing Guide
What Is Laser Barcode Marking? Benefits, Applications & Solutions | ZGLC
Related Article