UV Laser Marking: The Smart Way to Label Clear Aligners

UV Laser Marking on Clear Aligners: Precision Without Compromise
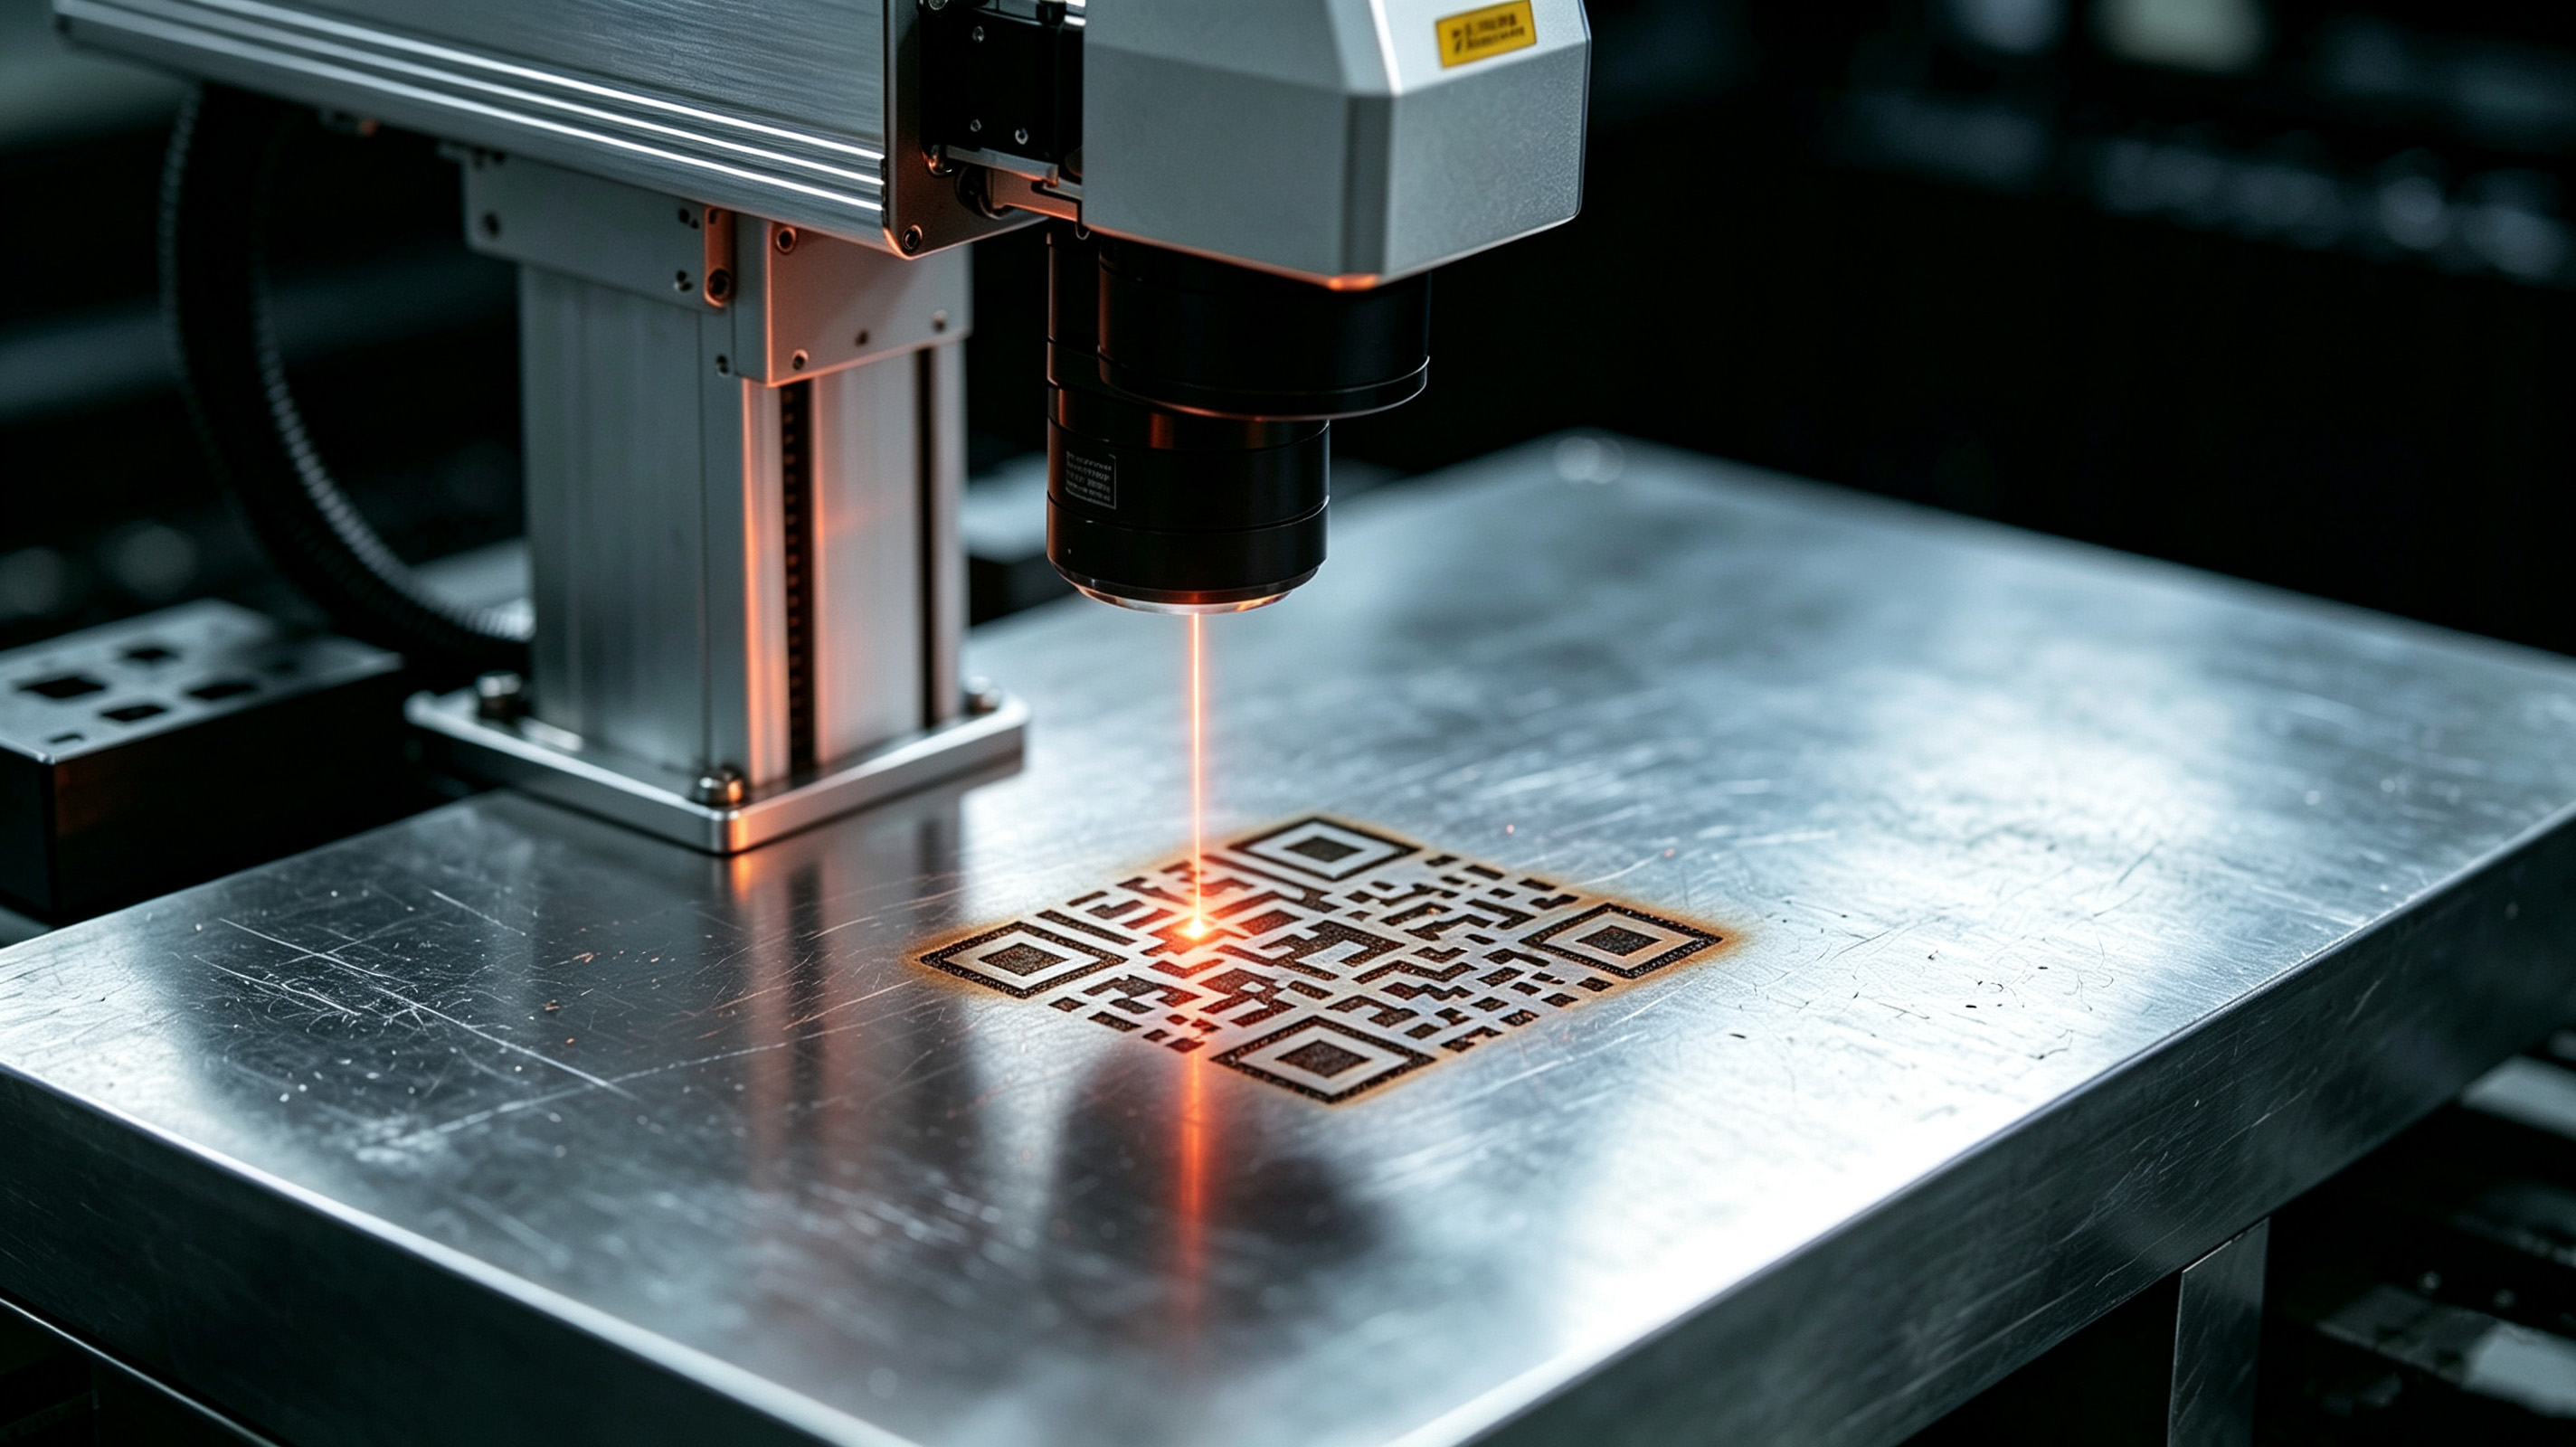
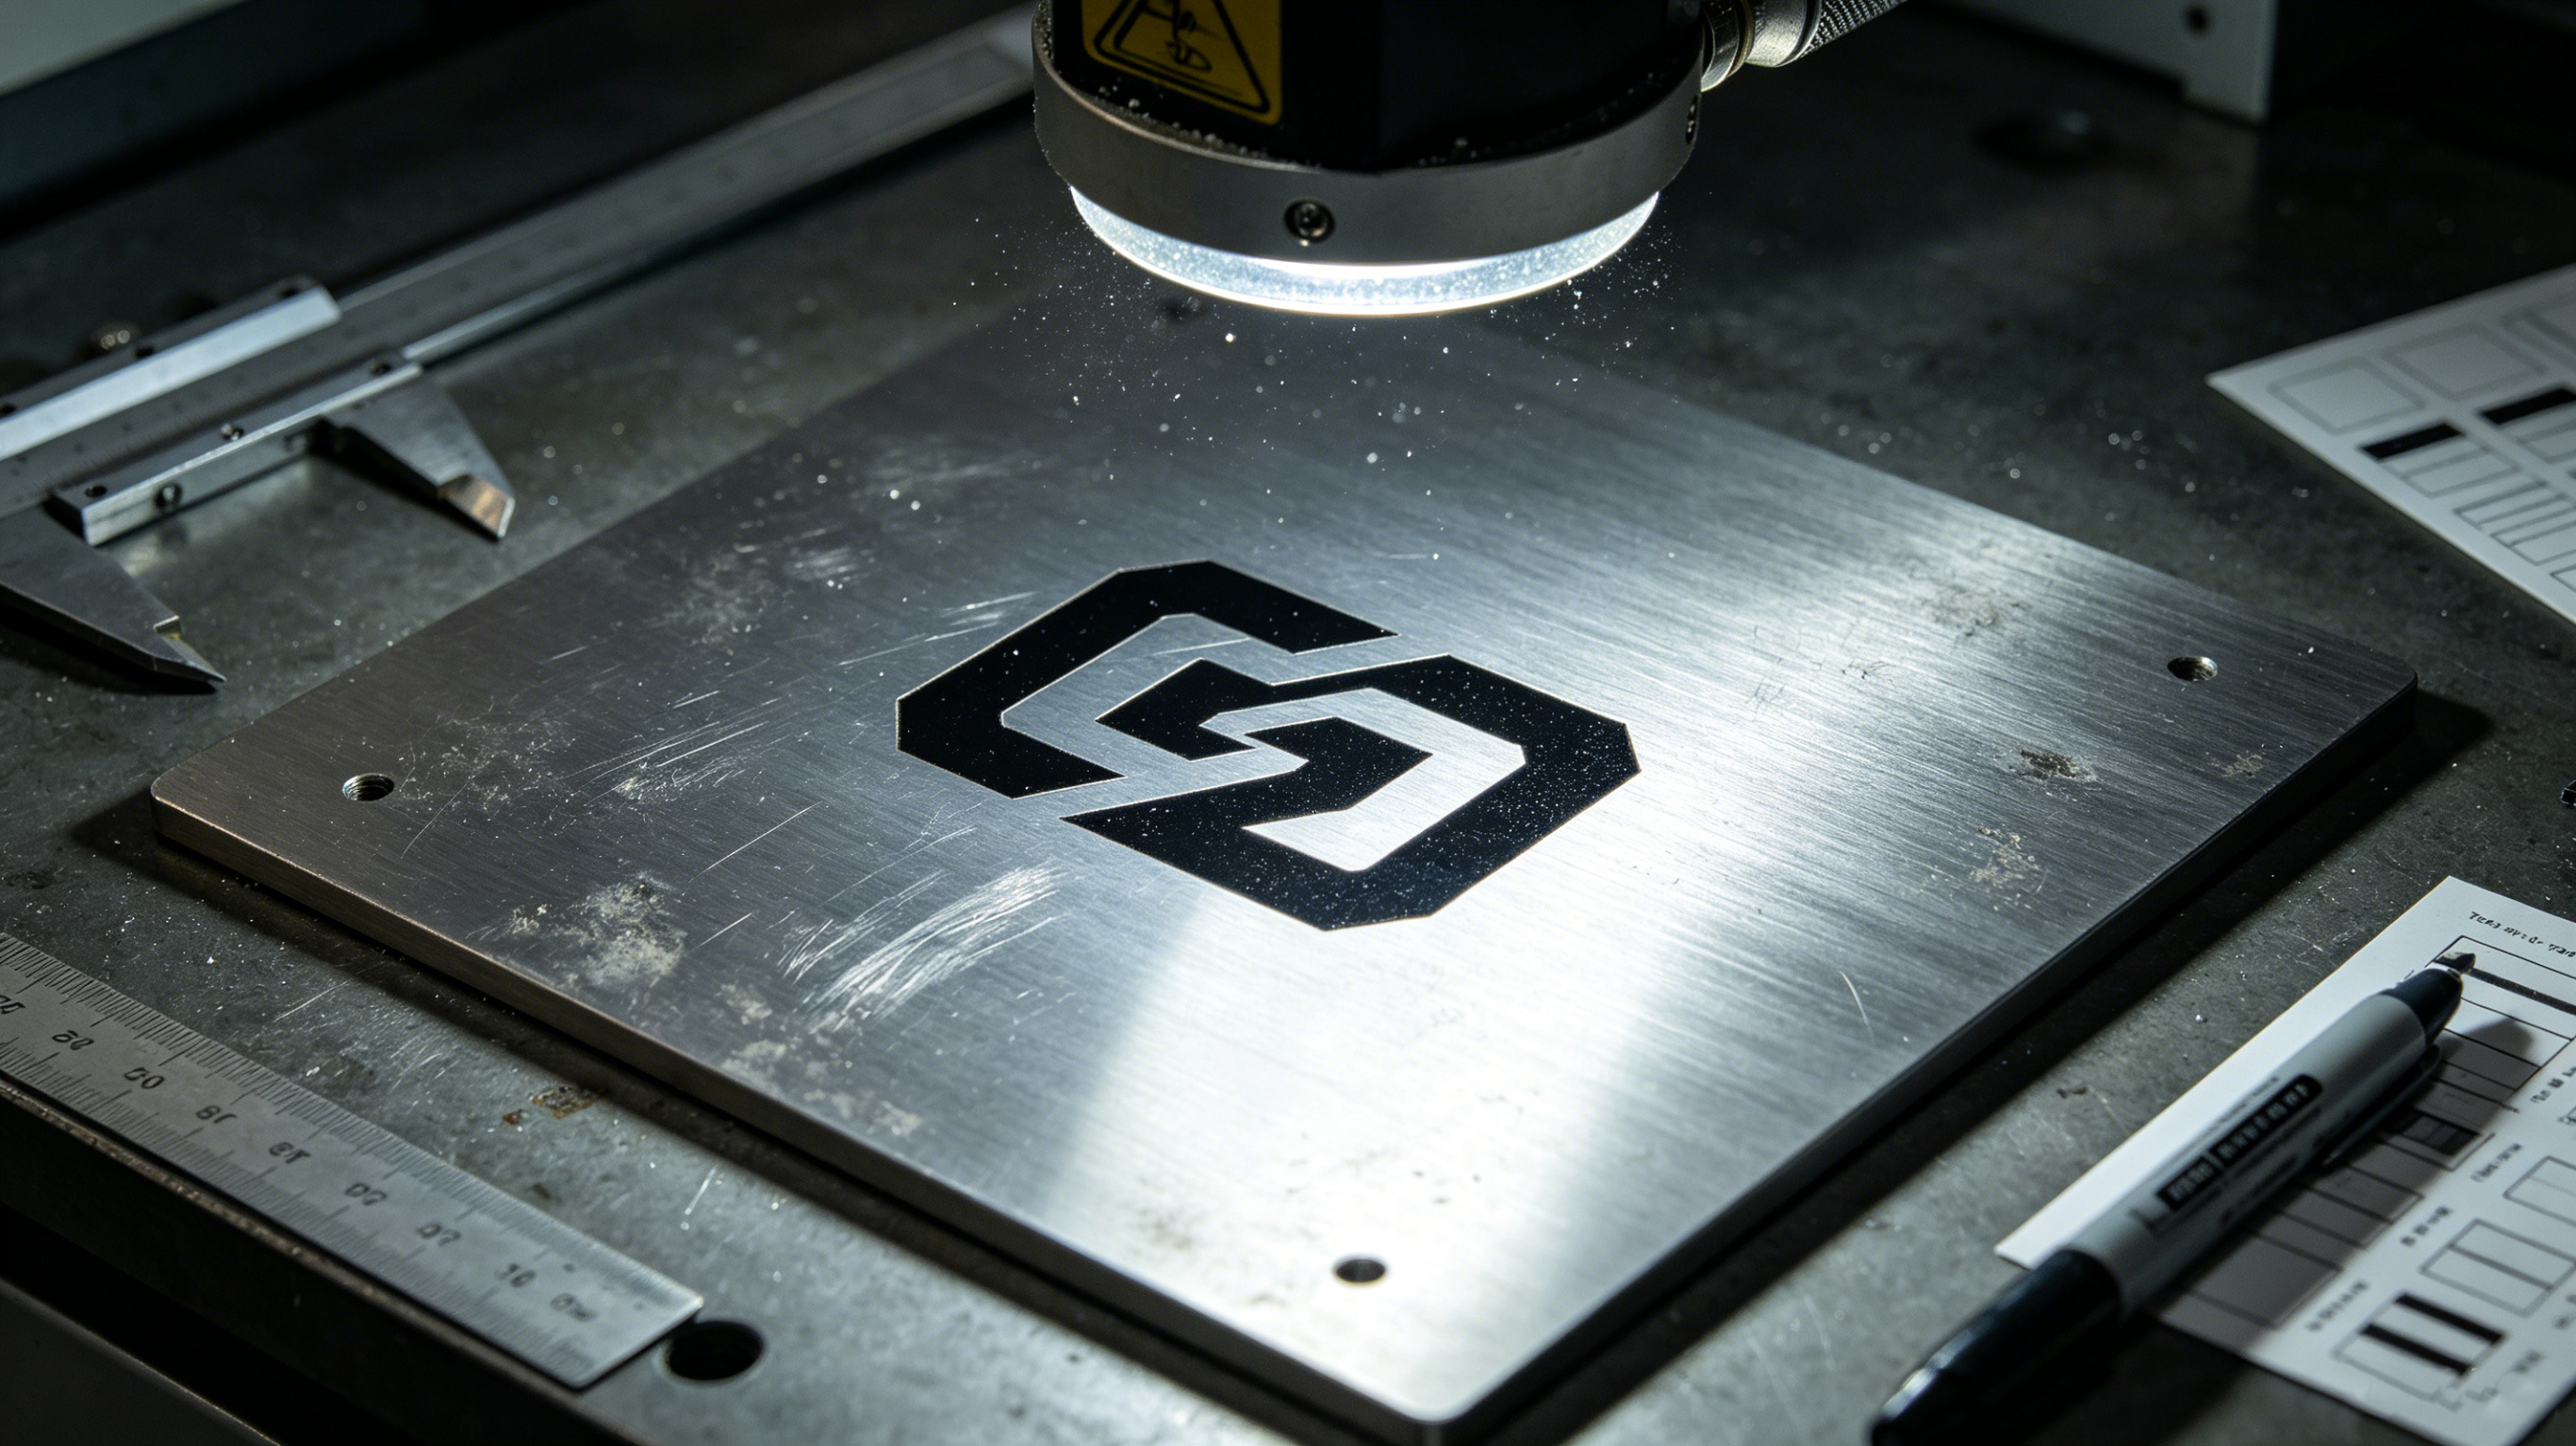
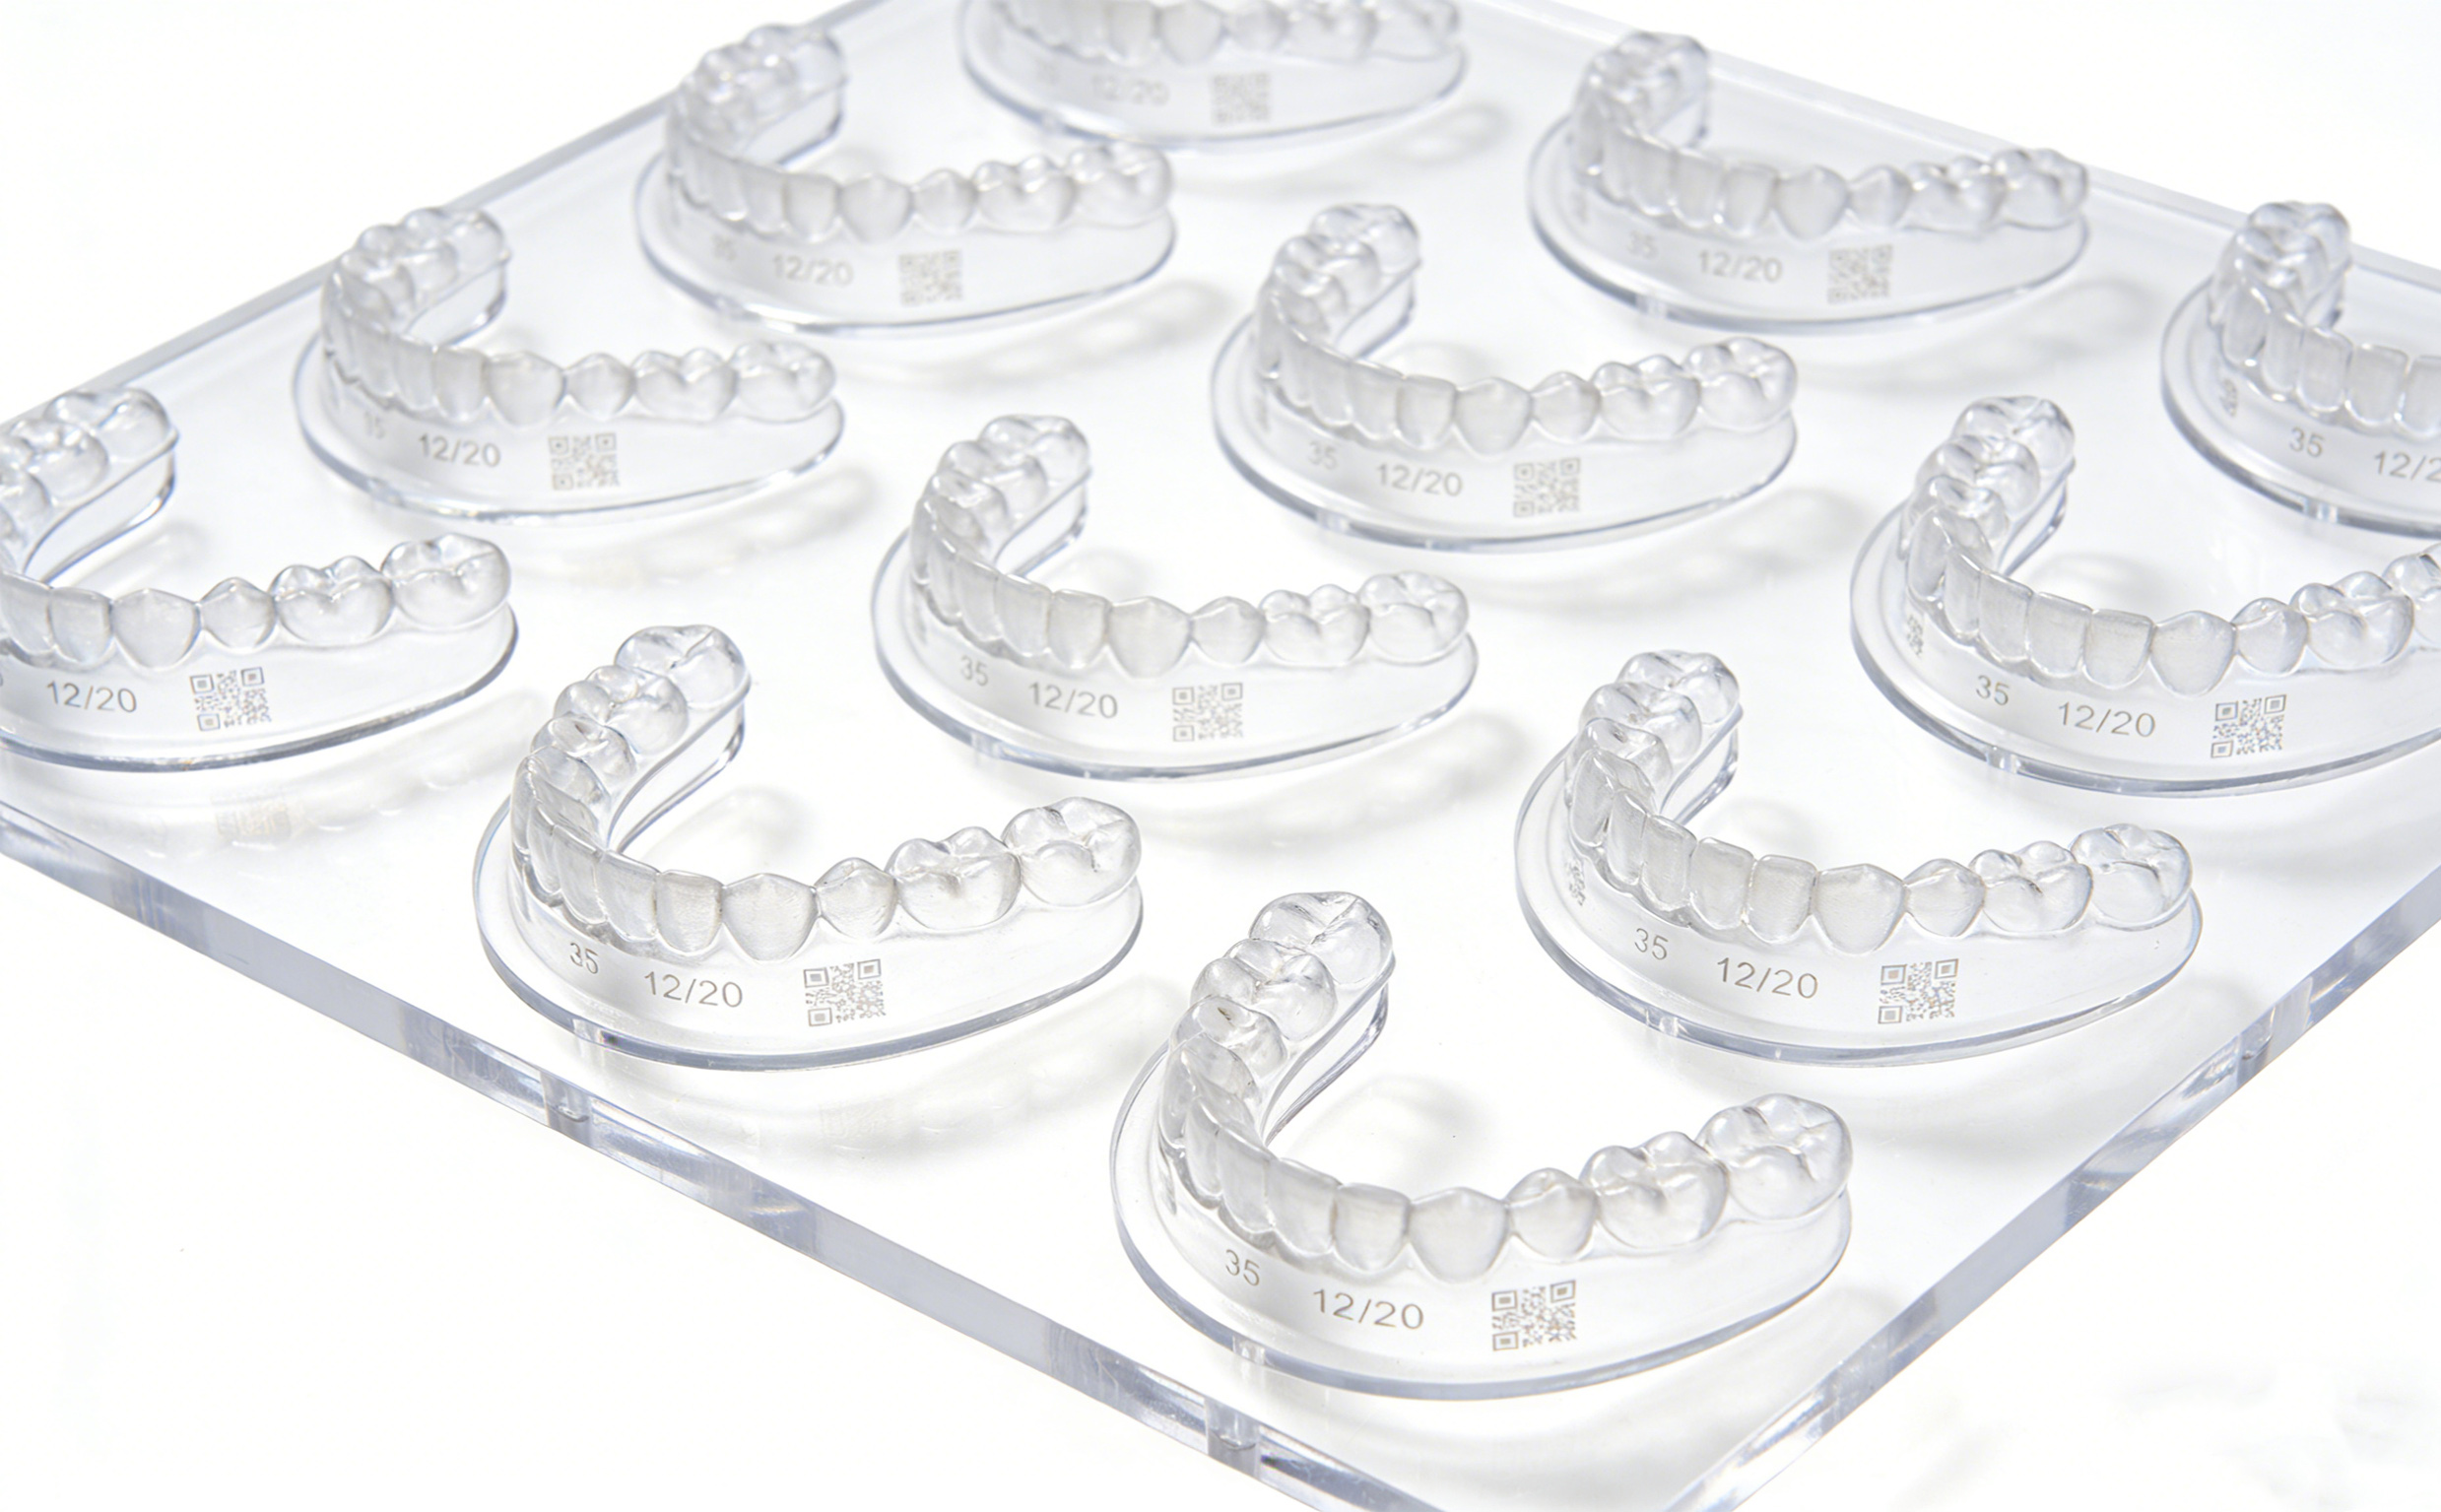
Clear aligners have revolutionized orthodontics, offering patients a discreet, comfortable alternative to traditional braces. But for manufacturers, labeling these transparent medical devices presents a unique challenge. Traditional printing methods can smudge or wear off. Mechanical engraving can create stress points that compromise structural integrity. Enter UV laser marking: a precise, non-contact solution that delivers permanent, high-contrast identification without affecting the aligner's clarity or strength. With high precision, minimal heat input, and the ability to process thousands of units quickly, laser marking dental devices has become the industry standard.
Why UV Laser is the Ideal Choice for Clear Aligners
Not all lasers are created equal when it comes to marking transparent thermoplastics. CO₂ and fiber lasers operate at longer wavelengths that pass through clear materials or generate excessive heat, causing warping or discoloration. UV laser marking, however, operates at a much shorter wavelength (355nm) that is readily absorbed by most polymers. This "cold" marking process breaks molecular bonds at the surface without heating the surrounding material. The result: crisp, high-contrast marks on transparent surfaces, with zero risk of melting, distortion, or compromising the aligner's optical clarity. For manufacturers producing thousands of custom aligners daily, UV laser marking delivers the speed, precision, and consistency they demand.
Engineering Challenges in Laser Marking Dental Devices
Marking medical devices comes with unique constraints that ordinary industrial marking doesn't face:
-
Preventing Micro-Cracks and Weak Points: Aligners must withstand daily wear and flexing. Poorly optimized marks can create stress concentrators that lead to failure. Proper UV laser marking parameters ensure the mark is surface-level only, preserving mechanical integrity.
-
Maintaining Optical Clarity: The mark must be visible without creating haze or opacity that affects the aligner's discreet appearance. The right wavelength and energy settings produce clean marks that remain clear under normal lighting.
-
No Ghosting or Shadowing: Inconsistent energy delivery can create secondary marks or shadows that look unprofessional. Precision control is essential.
-
Fixturing and Geometry Challenges: Aligners are thin, curved, and vary by patient. Custom fixturing ensures the laser hits the correct spot every time, regardless of shape.
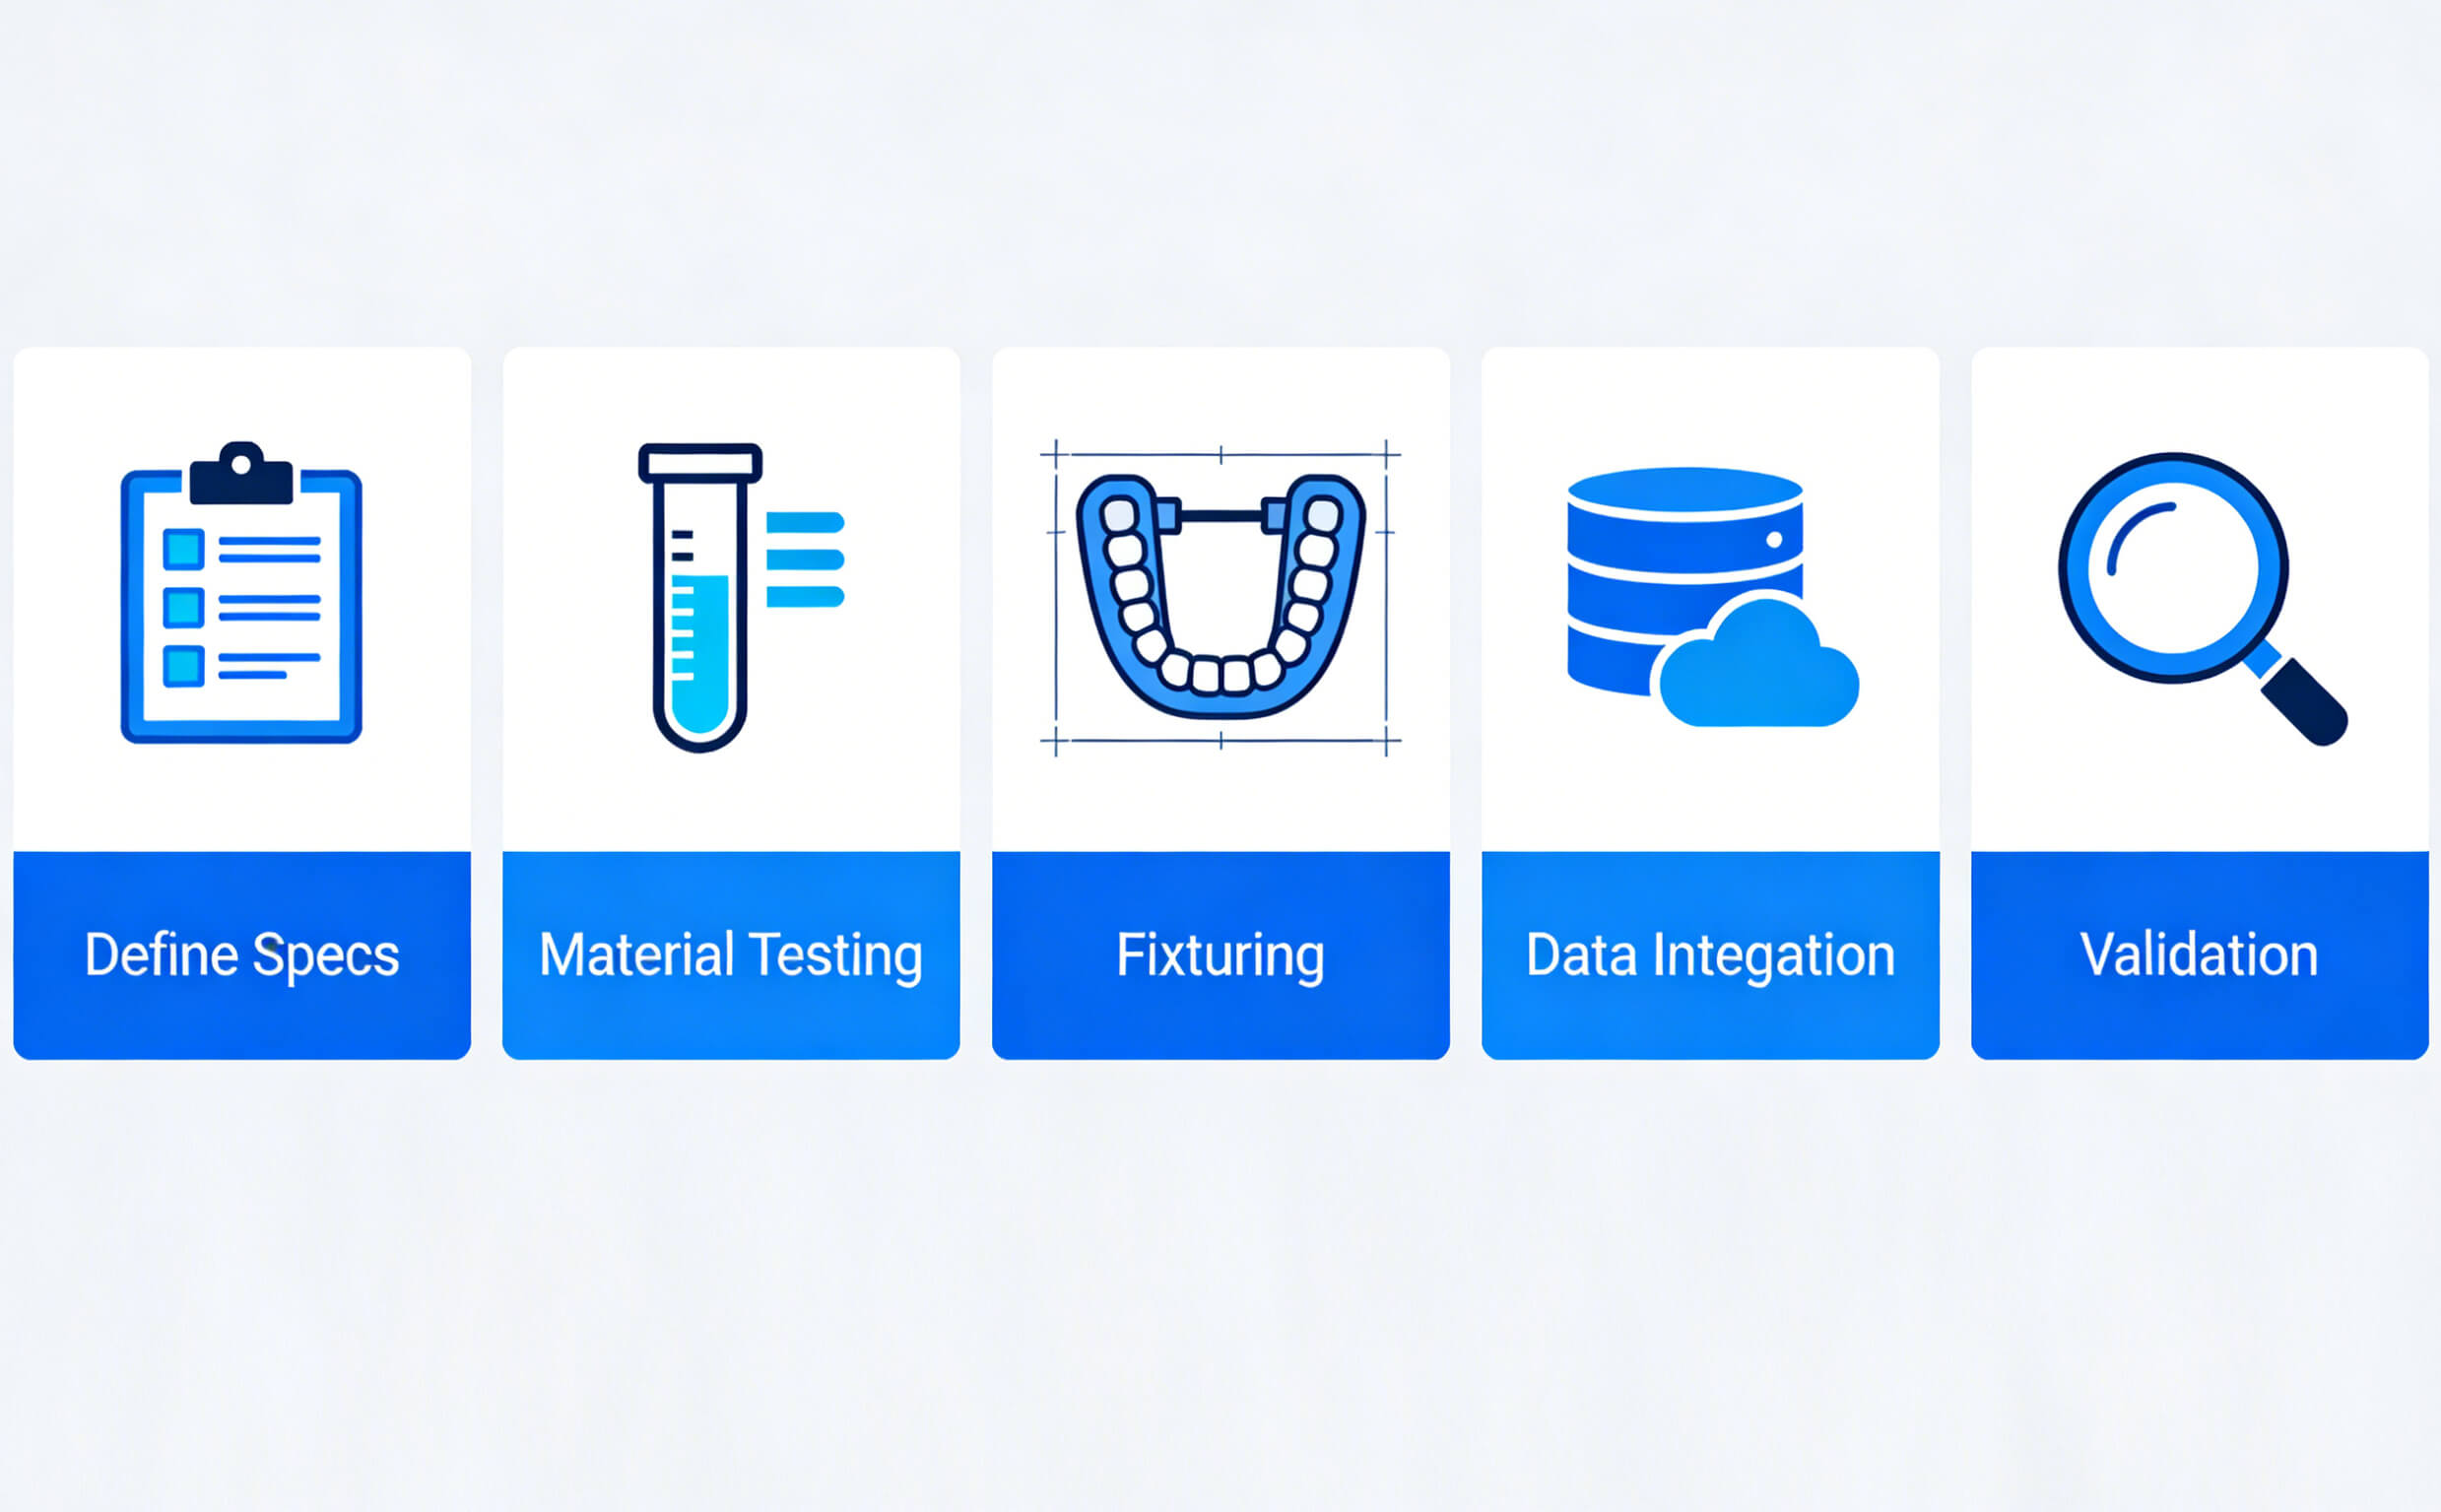
Step-by-Step Process for Laser Marking Aligners
1. Define Marking Requirements
Start by identifying what needs to be marked: patient name, treatment stage (e.g., "7/20"), serial numbers, or barcodes. Regulatory requirements for traceability often dictate mark content and durability standards.
2. Material Testing and Parameter Development
Every aligner material is different—PETG, TPU, and other thermoplastics react differently to UV laser marking. Test on sample materials to determine optimal power, speed, frequency, and scan pattern. Aim for marks that are legible but imperceptible to the touch.
3. Fixturing and Alignment Strategy
Design custom fixtures that hold each aligner securely without distorting its shape. Marking on a curved surface requires careful focal plane adjustment. Some systems use 3D galvo scanners to maintain focus across non-flat surfaces.
4. Data Integration and Serialization
Connect the laser system to your production database. As each aligner is scanned or entered, the system pulls the correct marking data automatically. This eliminates manual data entry errors and enables full traceability.
5. Production Validation and Training
Before full production runs, validate the process with a pilot batch. Inspect marks for readability, durability, and appearance. Train operators on safety protocols, maintenance, and quality checks.
UV Laser Selection and Process Optimization
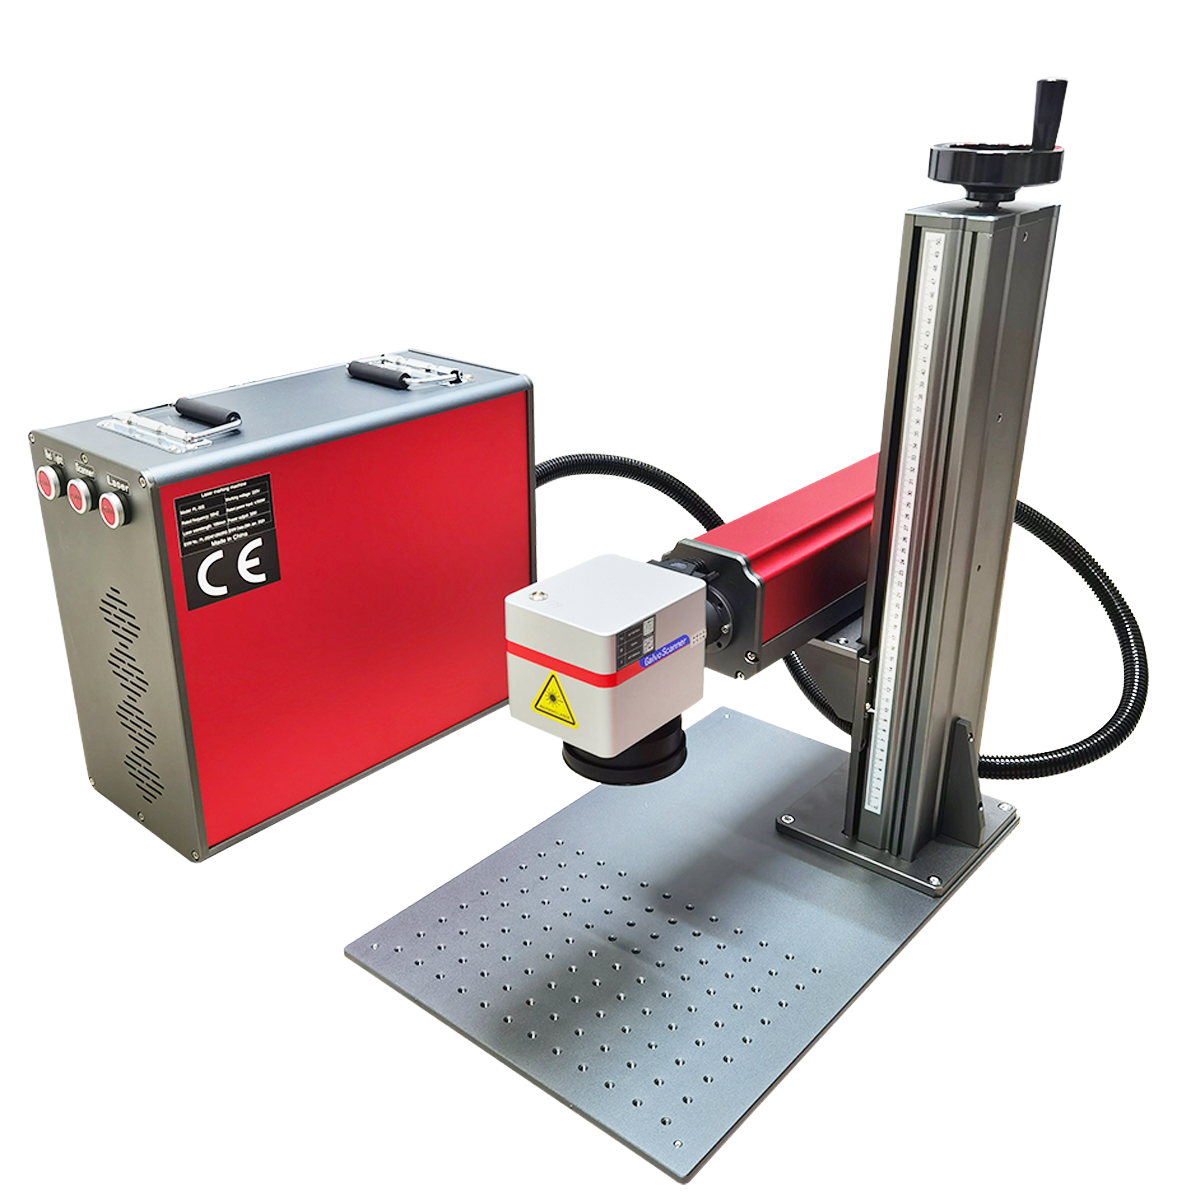
Choosing the right UV laser matters. Look for systems with:
-
Short pulse duration (nanosecond or picosecond) for cold processing
-
Adjustable spot size to balance detail and speed
-
Built-in vision alignment for consistent placement on curved surfaces
-
User-friendly software with batch processing and serialization tools
Process optimization involves balancing speed against mark quality. Too much power can cause material degradation; too little yields illegible marks. Run controlled experiments to find the sweet spot for your specific material.
Longevity, Maintenance, and Production Stability
UV laser marking systems require regular cleaning of optics to maintain beam quality. Dust or residue on the protective window absorbs energy and reduces marking effectiveness. Schedule daily or weekly cleaning based on production volume. UV laser sources typically last 8,000–10,000 hours before requiring replacement—a predictable cost that's easily factored into production budgets. With proper maintenance, these systems deliver years of stable, repeatable performance.
Ready to bring precision laser marking dental devices to your production line? Contact ZGLC Laser to discuss your clear aligner marking needs.
UV Laser Application in Wood Flooring QR Code Marking: A Technical Study
Can Your Product Pass the "Recall Test"? Why Laser Marking is Your Best Bet
Related Article