Say Goodbye to the White Chalk: 4 Ways to Remove Aluminum Oxide

That ugly, white film on your aluminum parts isn't just dirt. It's aluminum oxide, and it will ruin your welds, peel your paint, and wreck your projects if you ignore it. Whether you're a welder, a restorer, or a DIY enthusiast, knowing how to tackle aluminum oxide removal is a essential skill. Let's look at why it matters and compare the four most common ways to get the job done, so you can pick the right tool for your shop.
1. Why Removing Aluminum Oxide Isn't Optional
You might think the dull layer is harmless, but it's a project killer. Here are the three big reasons you need a solid aluminum cleaning process:
-
For Welds That Don't Crack: Aluminum oxide melts at 3,600°F+; the metal underneath melts at 1,220°F. Weld over the oxide, and it mixes into your weld pool, creating weak, porous, and brittle joints. True aluminum oxide removal before welding is the only way to get strong, clean results.
-
For Paint That Actually Sticks: Paint and powder coat need bare, clean metal to form a lasting bond. The oxide layer acts like a barrier, causing finishes to chip, bubble, and peel off in sheets. Proper aluminum cleaning ensures your beautiful finish stays on for years.
-
For Conductivity and Consistent Protection: In electrical work, oxide is an insulator. For parts that will be anodized (given a controlled, protective coat), the uneven natural oxide ruins the process. Aluminum oxide removal creates the perfect starting surface.
2. What is Aluminum Oxidation?
Think of it as aluminum's instant reaction to air. The moment fresh, shiny aluminum is exposed to oxygen, it forms a thin, hard skin of aluminum oxide removal. This skin is actually what makes aluminum "rust-proof"—it's stable and protects the metal underneath. But for almost everything we want to do to aluminum (weld it, glue it, paint it), this "protective" skin is the enemy we must remove through aluminum cleaning.
3. The 4 Methods: From High-Tech to Elbow Grease
Here's your toolkit for aluminum oxide removal. Each has its place.
Method 1: Laser Cleaning (The Futuristic Zapper)
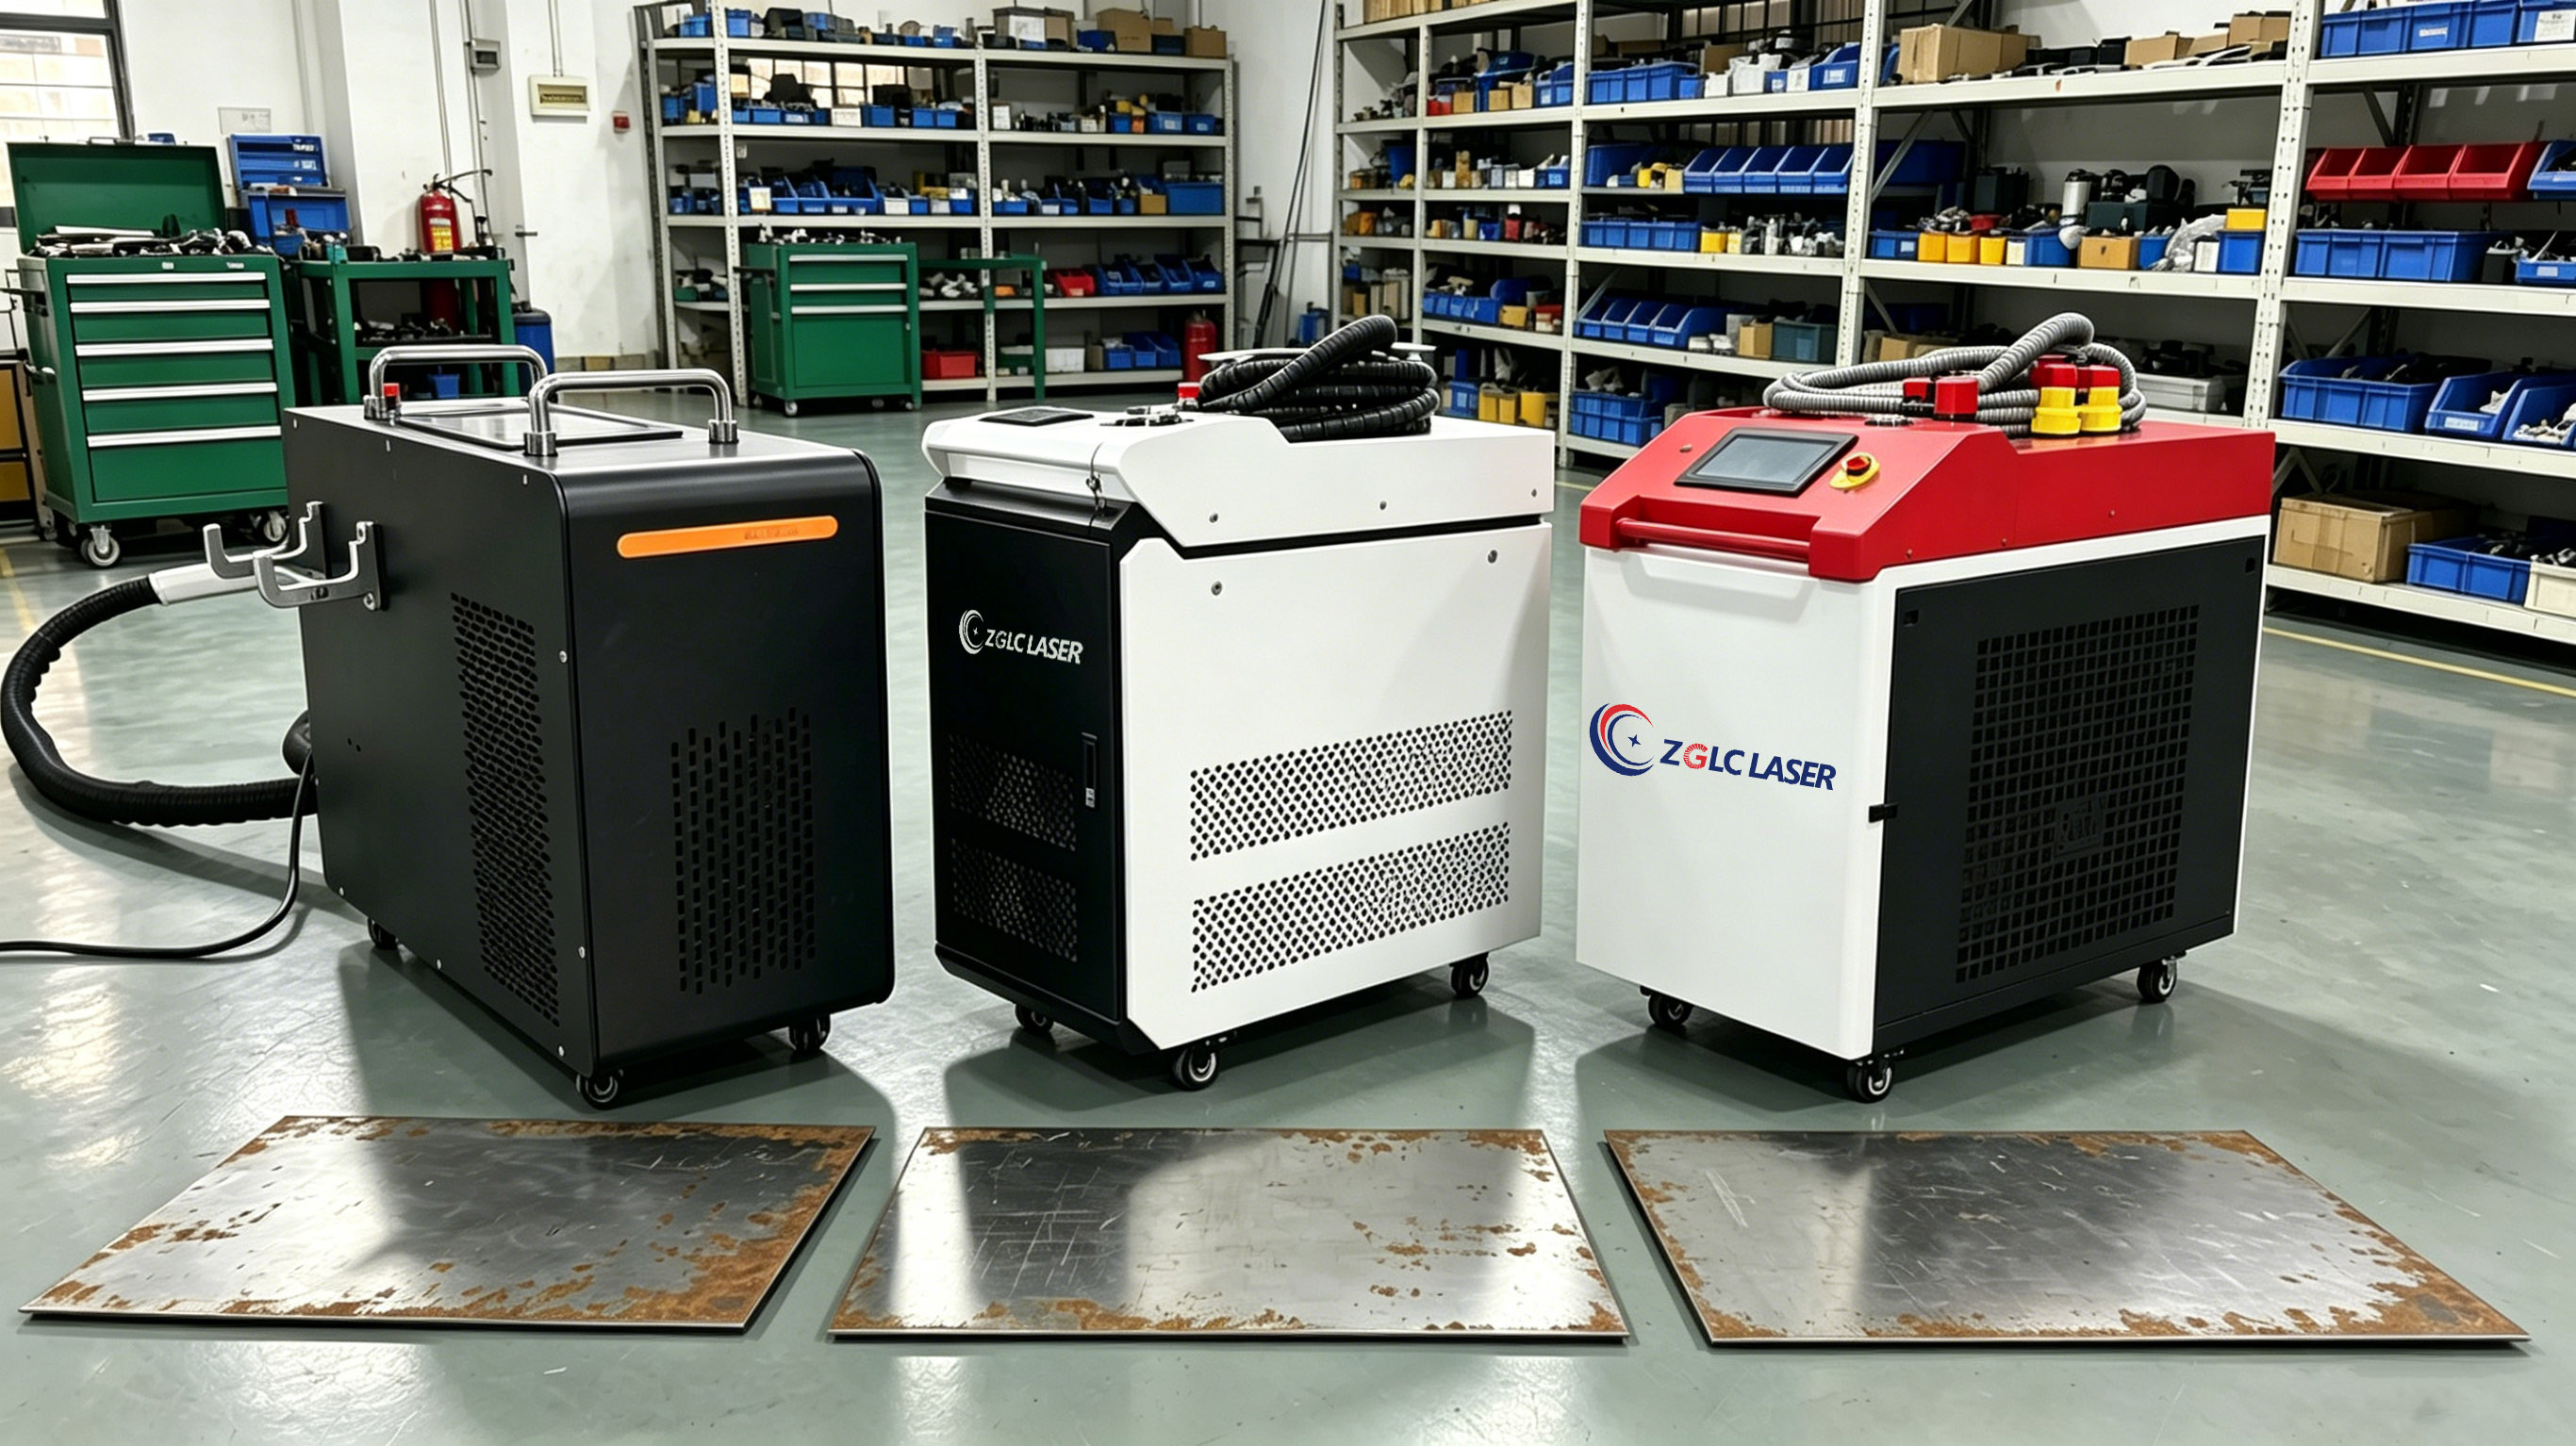
A pulsed laser beam targets the surface. The aluminum oxide absorbs the light and literally vibrates into dust, leaving the pure metal untouched. It's the ultimate precision tool.
-
Best For: Aerospace parts, delicate restoration, and prepping perfect weld seams where zero damage is allowed.
Method 2: Mechanical Abrasion (The Trusty Scrub)
This is hands-on aluminum cleaning. You use abrasive pads, sandpaper, Scotch-Brite, or grinding discs to physically sand the oxide away.
-
Best For: Quick fixes, large surfaces, heavy corrosion, and shops that want a simple, no-chemical solution.
Method 3: Alkaline Cleaning (The Degreasing Bath)
This is often step one. It uses a caustic bath to strip away oils, grease, and dirt that sit on top of the oxide. It doesn't remove the oxide itself but is critical prep for the next aluminum cleaning step.
-
Best For: The essential first clean in a multi-stage process, especially for parts covered in machining oil.
Method 4: Acid Pickling (The Chemical Dissolver)
This is the classic chemical method for aluminum oxide removal. The part is dipped in an acid bath (often nitric and hydrofluoric mix), which dissolves the oxide layer, leaving a clean, matte surface.
-
Best For: Batch-processing many small parts, achieving a uniform finish, and preparing metal for anodizing.
Quick Comparison Guide
| Method | How It Works | Biggest Pro | Biggest Con |
|---|---|---|---|
| Laser Cleaning | Vaporizes oxide with light | No damage, super precise, clean & green | High machine cost, slower on big areas |
| Mechanical Abrasion | Sanding/grinding it off | Cheap, simple, starts immediately | Can scratch metal, inconsistent, tiring |
| Alkaline Cleaning | Soaks off oils & grease | Great for dirty parts, good for batches | Doesn't remove oxide, uses harsh chemicals |
| Acid Pickling | Chemically eats the oxide | Thorough, even on complex shapes | Very dangerous chemicals, nasty waste |
4. See It in Action: 3 Real Scenarios
-
The Welder's Choice: Before welding a critical aluminum frame, a fabricator uses a handheld laser cleaning tool. He zaps the joint area, and in seconds, the white oxide vanishes, leaving perfect, shiny metal for a flawless weld. This method of aluminum oxide removal guarantees no contamination.
-
The Manufacturer's Process: In an anodizing shop, parts go through a precise line: first an alkaline cleaning bath to degrease, then a rinse, then an acid pickling tank for complete aluminum oxide removal, and a final rinse. This two-stage aluminum cleaning process is what makes a durable, colored anodized finish possible.
-
The Restorer's Approach: Fixing a weathered aluminum boat hull starts with aggressive mechanical abrasion (sanding) to remove thick oxidation. For the final prep before primer, a mild acidic cleaner ensures every last bit of micro-oxidation is gone, making the surface perfectly ready for paint to stick. This complete aluminum cleaning process brings the metal back to life.
The Takeaway: Your choice for aluminum oxide removal depends on the job. Need surgical precision? Choose laser. On a tight budget with a simple part? Mechanical abrasion works. Processing hundreds of small components? Chemical is efficient. Match the aluminum cleaning method to your project's needs for the best results.
Laser Rust Removal for Oil & Gas: A Cleaner, Smarter Way to Fight Corrosion
Precision in the Skies: The Essential Guide to Laser Rust Removal in Aerospace
Related Article