Simple Guide to Maintenance for Laser Welding Machines
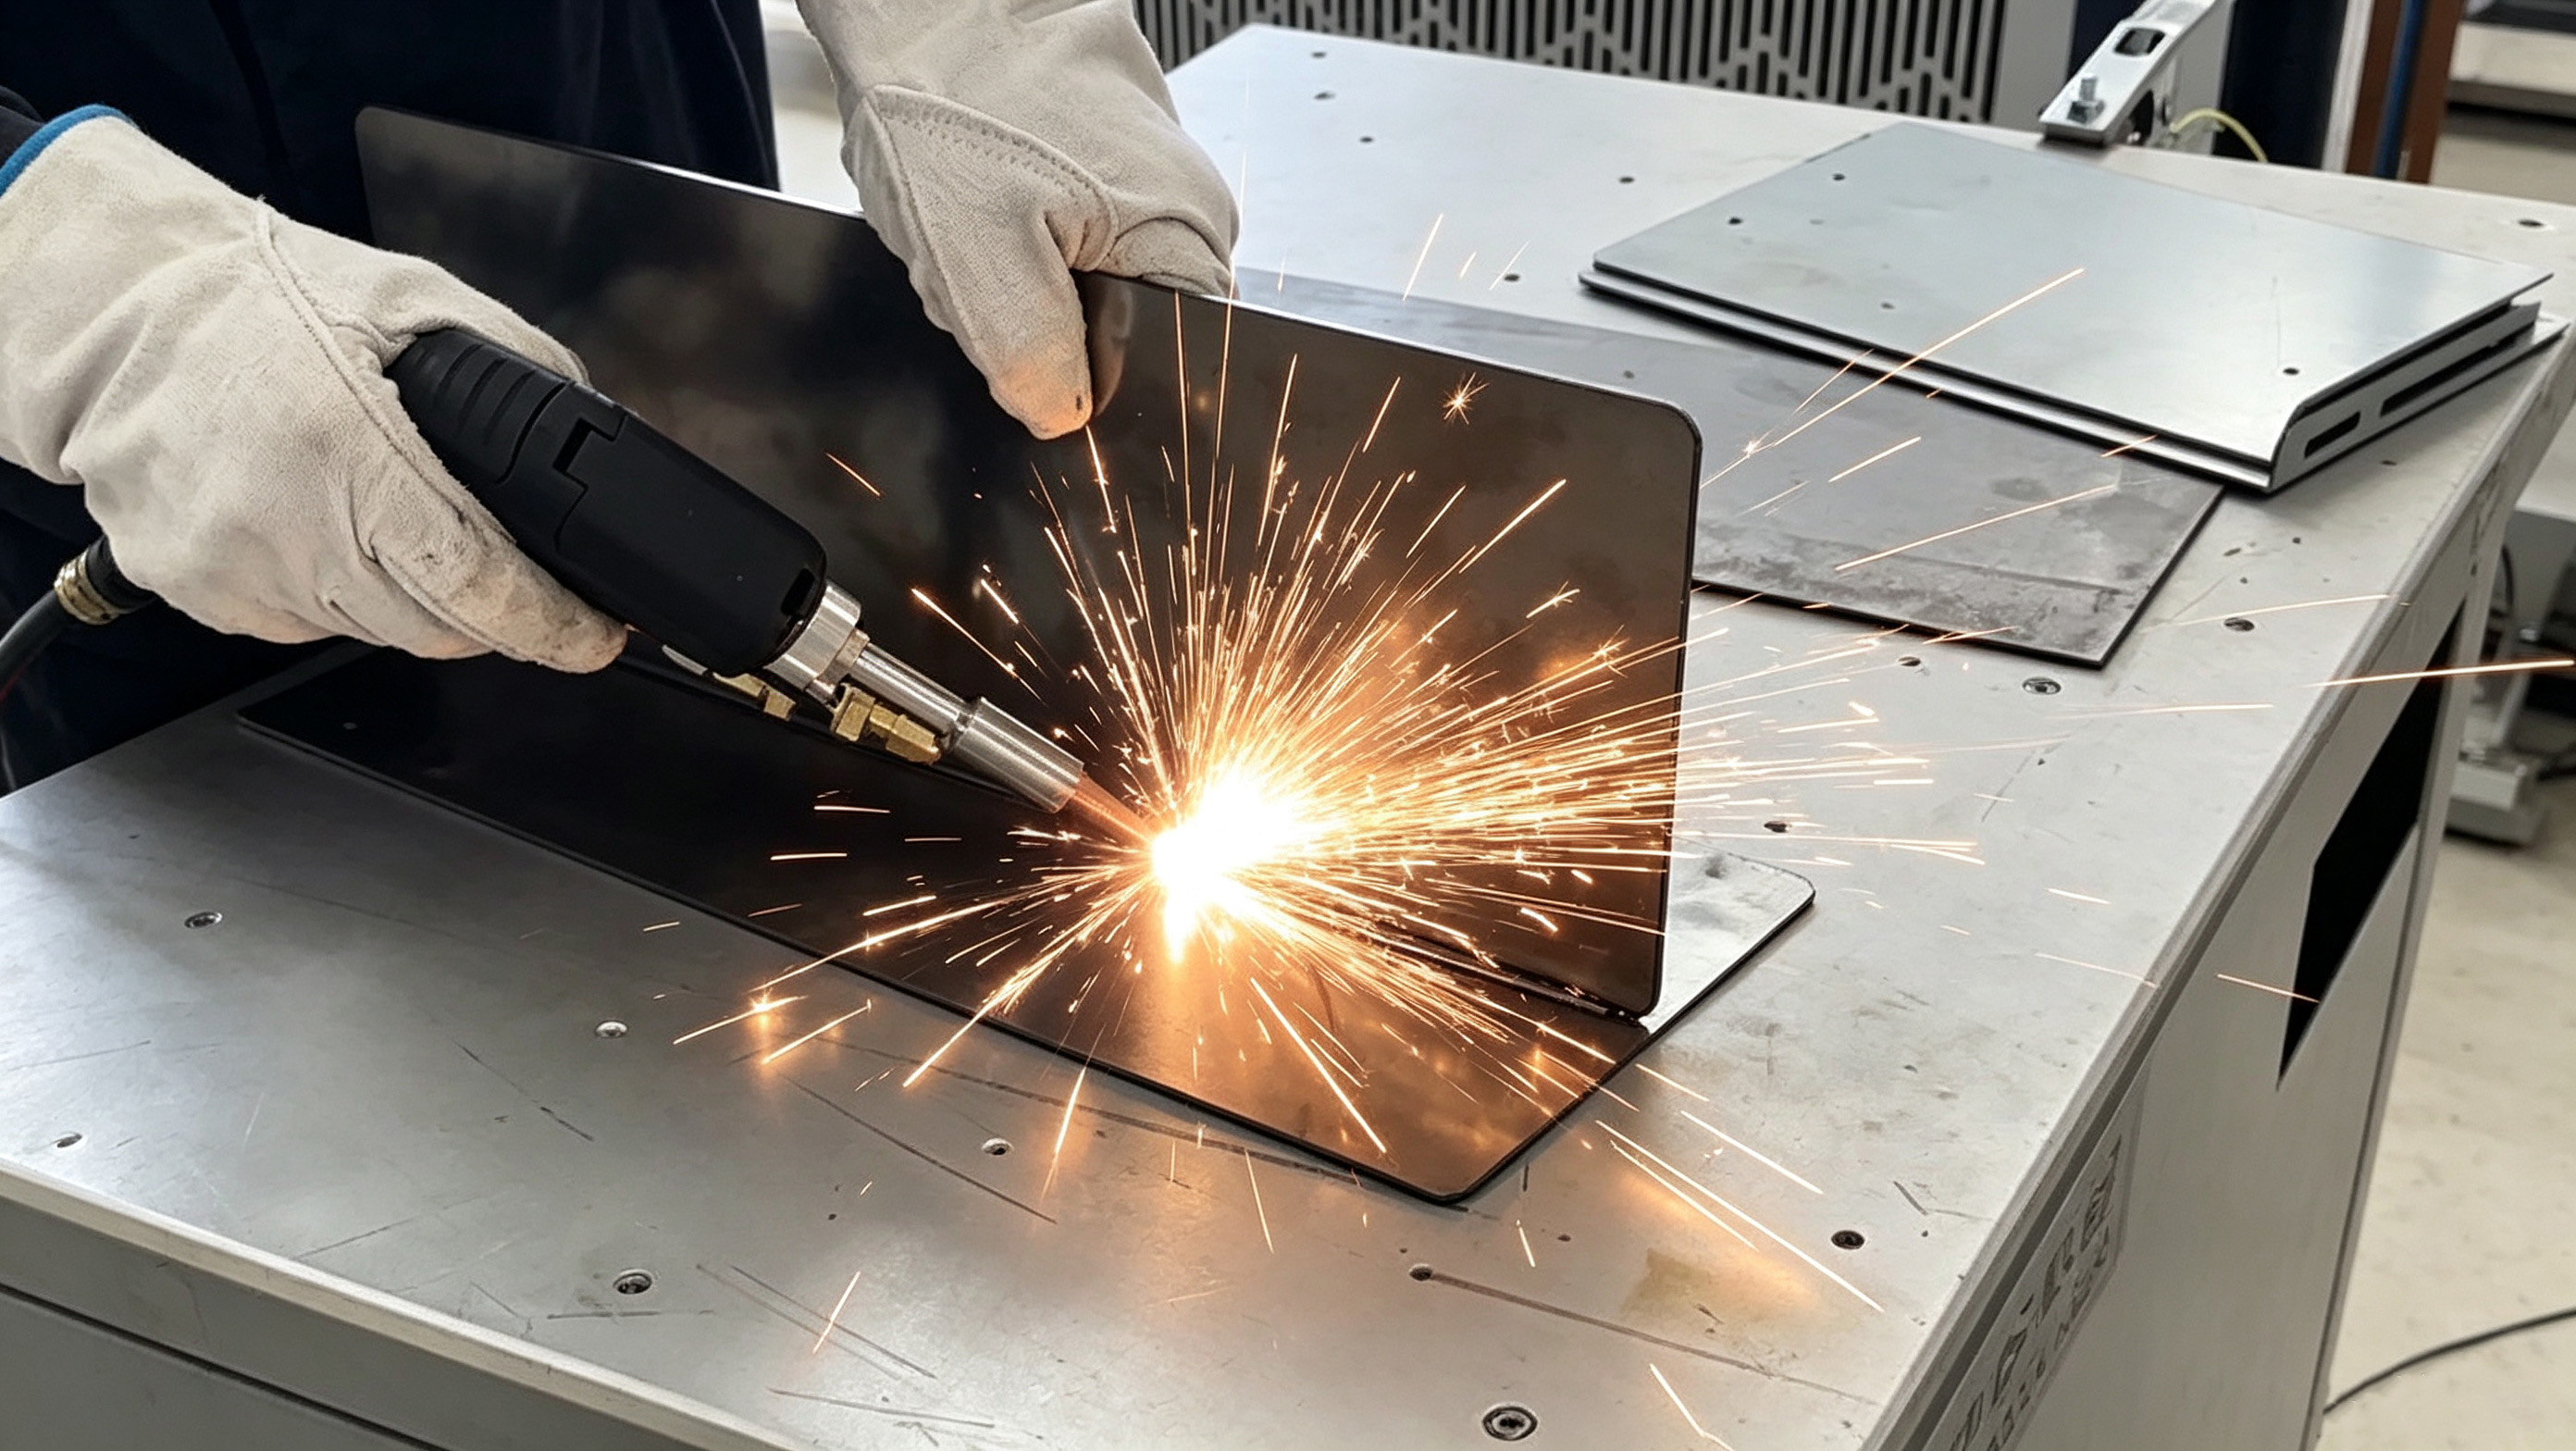
Handheld laser welders have revolutionized metal fabrication. They're famous for being incredibly fast, easy to use, and producing clean, strong welds with minimal distortion. But like any powerful tool, they need a little TLC to keep performing at their best. Regular handheld laser welder maintenance isn't just a suggestion—it's the key to preventing costly downtime and ensuring perfect welding quality on every project. Think of it like changing the oil in your car; a small, consistent effort prevents major engine failure.
Skipping maintenance is the fastest way to see poor welds, frustrating errors, and a shorter machine life. Let's walk through how to keep your welder in top shape and solve common problems.
How to Keep Your Laser Welder in Top Shape: A Simple Maintenance Schedule
A consistent routine is your first line of defense. Here’s a breakdown based on usage.
Every 8 Hours (Daily or Shift Check):
-
Clean the Lens: This is the most critical step! Gently clean the protective cover lens with a lens cleaner and lint-free wipes. A dirty lens is the #1 cause of power loss and poor welds.
-
Inspect the Nozzle: Check the welding nozzle for spatter buildup or damage. Clean it with a brass brush (never steel!) or replace it if it's worn out.
-
Check Cables and Hoses: Look for any signs of damage, kinks, or wear on the power cable, control cable, and water hose (for water-cooled models).
Every 40 Hours (Weekly Deep Clean):
-
Thoroughly Clean the Machine: Power down and unplug the welder. Use compressed air to blow dust out of the air vents and internal components.
-
Inspect and Clean the Filter: If your machine has an air filter for its internal cooling, check and clean it according to the manual. A clogged filter can cause the machine to overheat.
-
Full Nozzle and Lens Assembly Check: Disassemble the welding head to clean the inner cone and inspect the entire assembly. Ensure all connections are tight.
This simple handheld laser welder maintenance routine takes minutes but dramatically improves your welding quality and machine longevity.
How to Solve Common Welding Problems (Laser Welding Troubleshooting)
When problems pop up, don't panic. Here’s a quick laser welding troubleshooting guide.
a. Black Weld Seam (Oxidation)
-
Cause: Not enough shielding gas, or the gas pressure is too low.
-
Solution: Check your gas flow. Ensure the gas hose isn't kinked and the regulator is set correctly (typically 15-20 CFH). Make sure the nozzle is clean and unclogged.
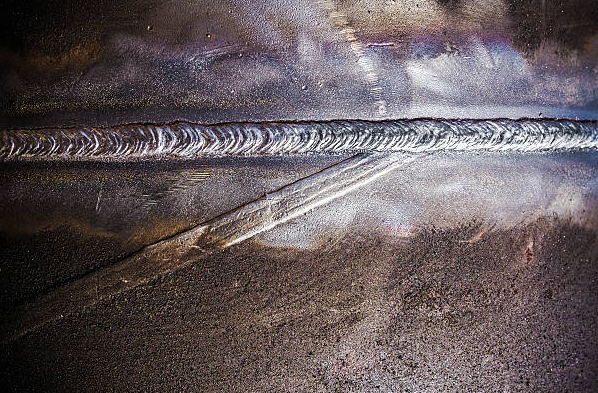
b. Weld Penetration Too Deep
-
Cause: Laser power is too high, or the travel speed is too slow.
-
Solution: Lower the laser power setting and/or increase your welding speed. This is a key part of laser welding troubleshooting to avoid burning through thin materials.
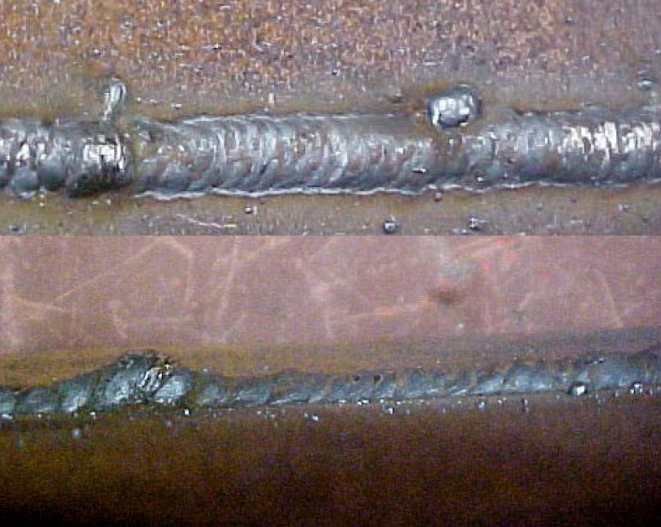
c. Welding Perforation
-
Cause: This is an extreme version of deep penetration. The power is far too high for the material thickness, or the focus is too sharp.
-
Solution: Drastically reduce the laser power, increase speed, and check the focal length. For thin sheets, a slightly defocused beam can help.
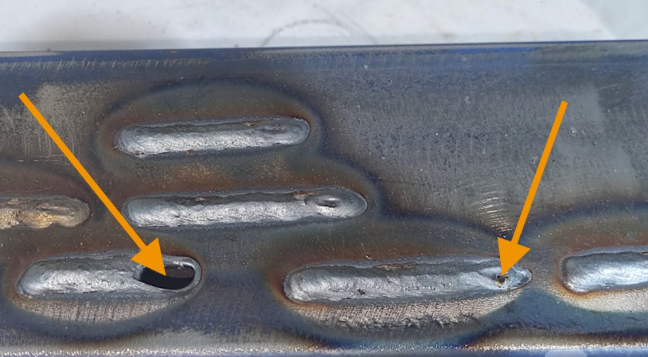
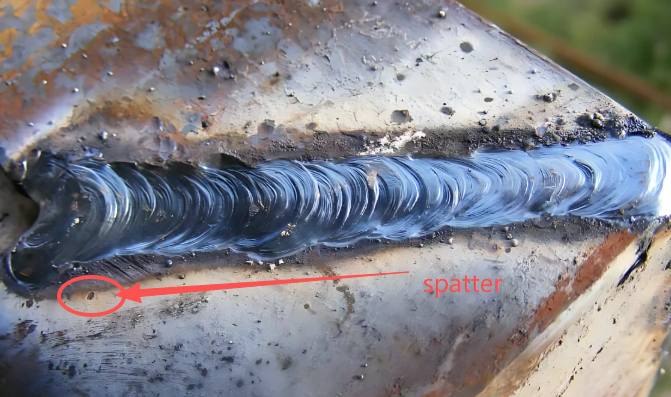
d. Welding Burs and Spatter
-
Cause: Often related to gas or material contamination. Insufficient gas coverage or dirty/dirty base metal can cause this.
-
Solution: Increase gas pressure. Thoroughly clean the workpiece to remove oil, rust, or paint before welding. This directly improves the final welding quality.
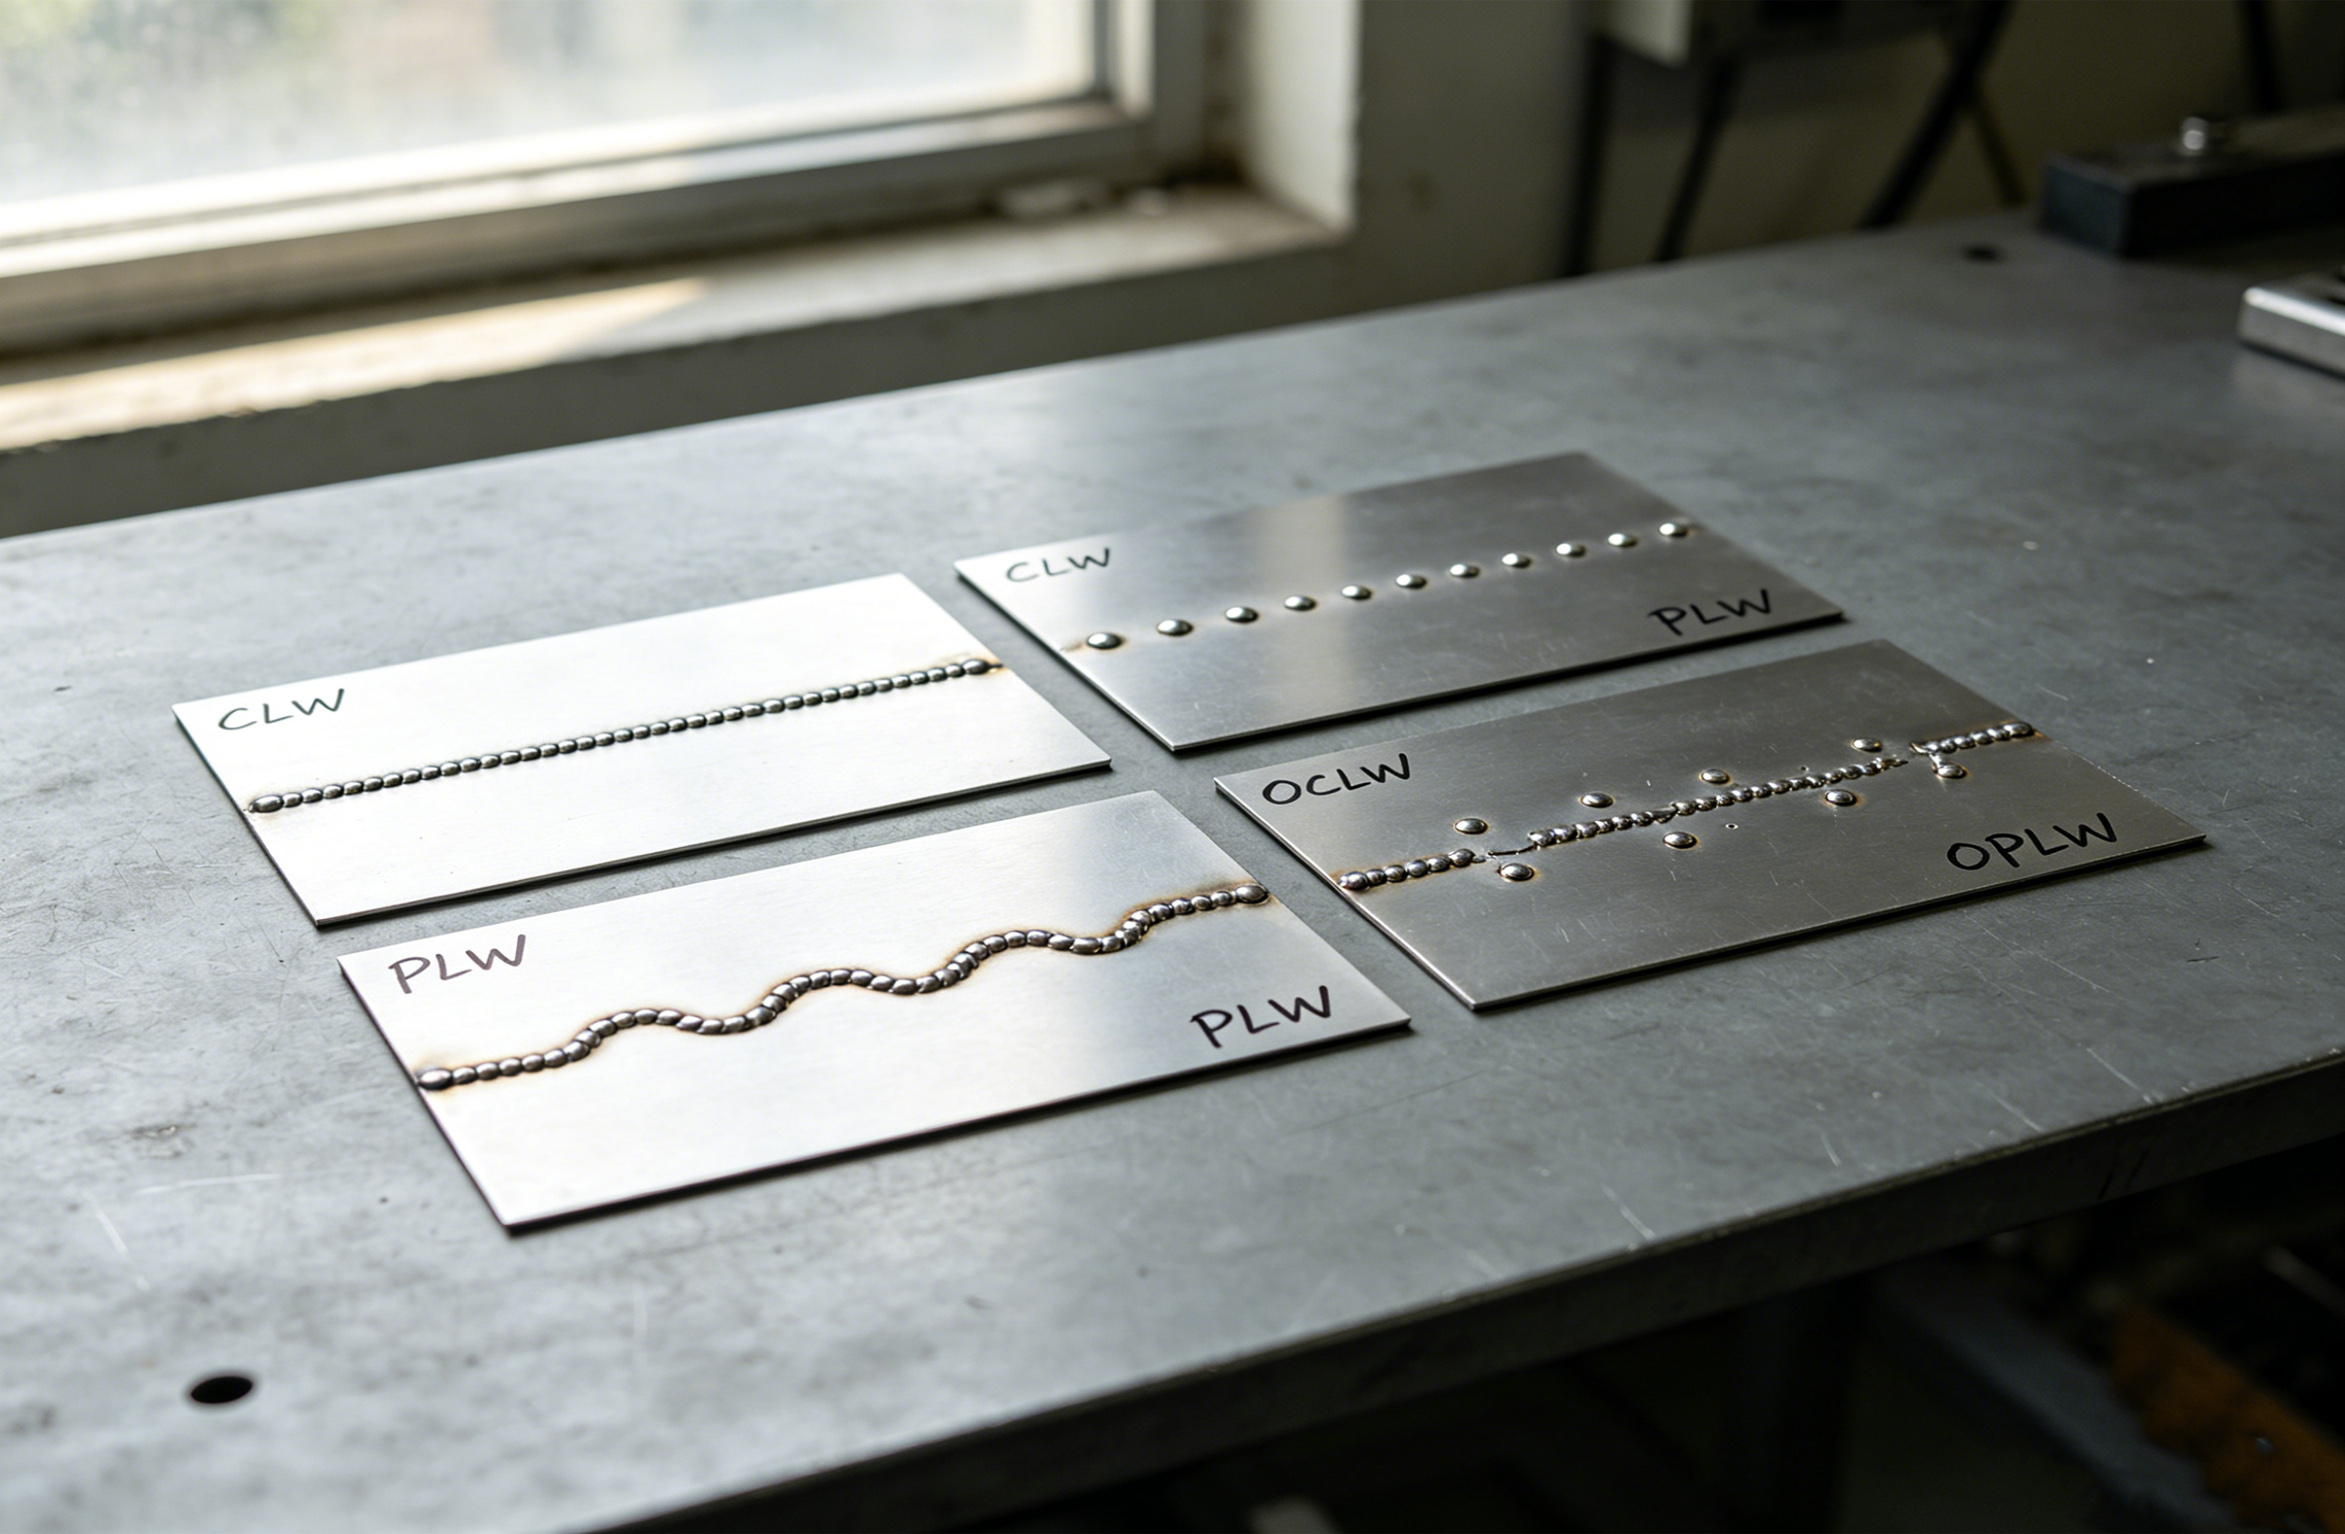
e. Irregular Weld Bead
-
Cause: Unstable hand movement, incorrect stand-off distance, or a dirty lens.
-
Solution: Practice a steady, consistent hand speed. Maintain a consistent distance between the nozzle and the workpiece. Clean the protective lens!
f. Welding Process Interruption
-
Cause: Loose cables, overheating, or a software glitch.
-
Solution: Check all cable connections. Ensure the machine's cooling system (fan or water chiller) is working properly. Restart the machine.
g. Insufficient Wire Melding (Weak Weld)
-
Cause: The wire feed speed is too high, or the laser power is too low to properly melt the filler wire.
-
Solution: Adjust the synchronization between wire feed speed and laser power. Increase power or decrease wire speed to ensure a strong bond. Getting this right is non-negotiable for strong welding quality
HJYC Laser Welders: Why Ours Are Your Best Choice
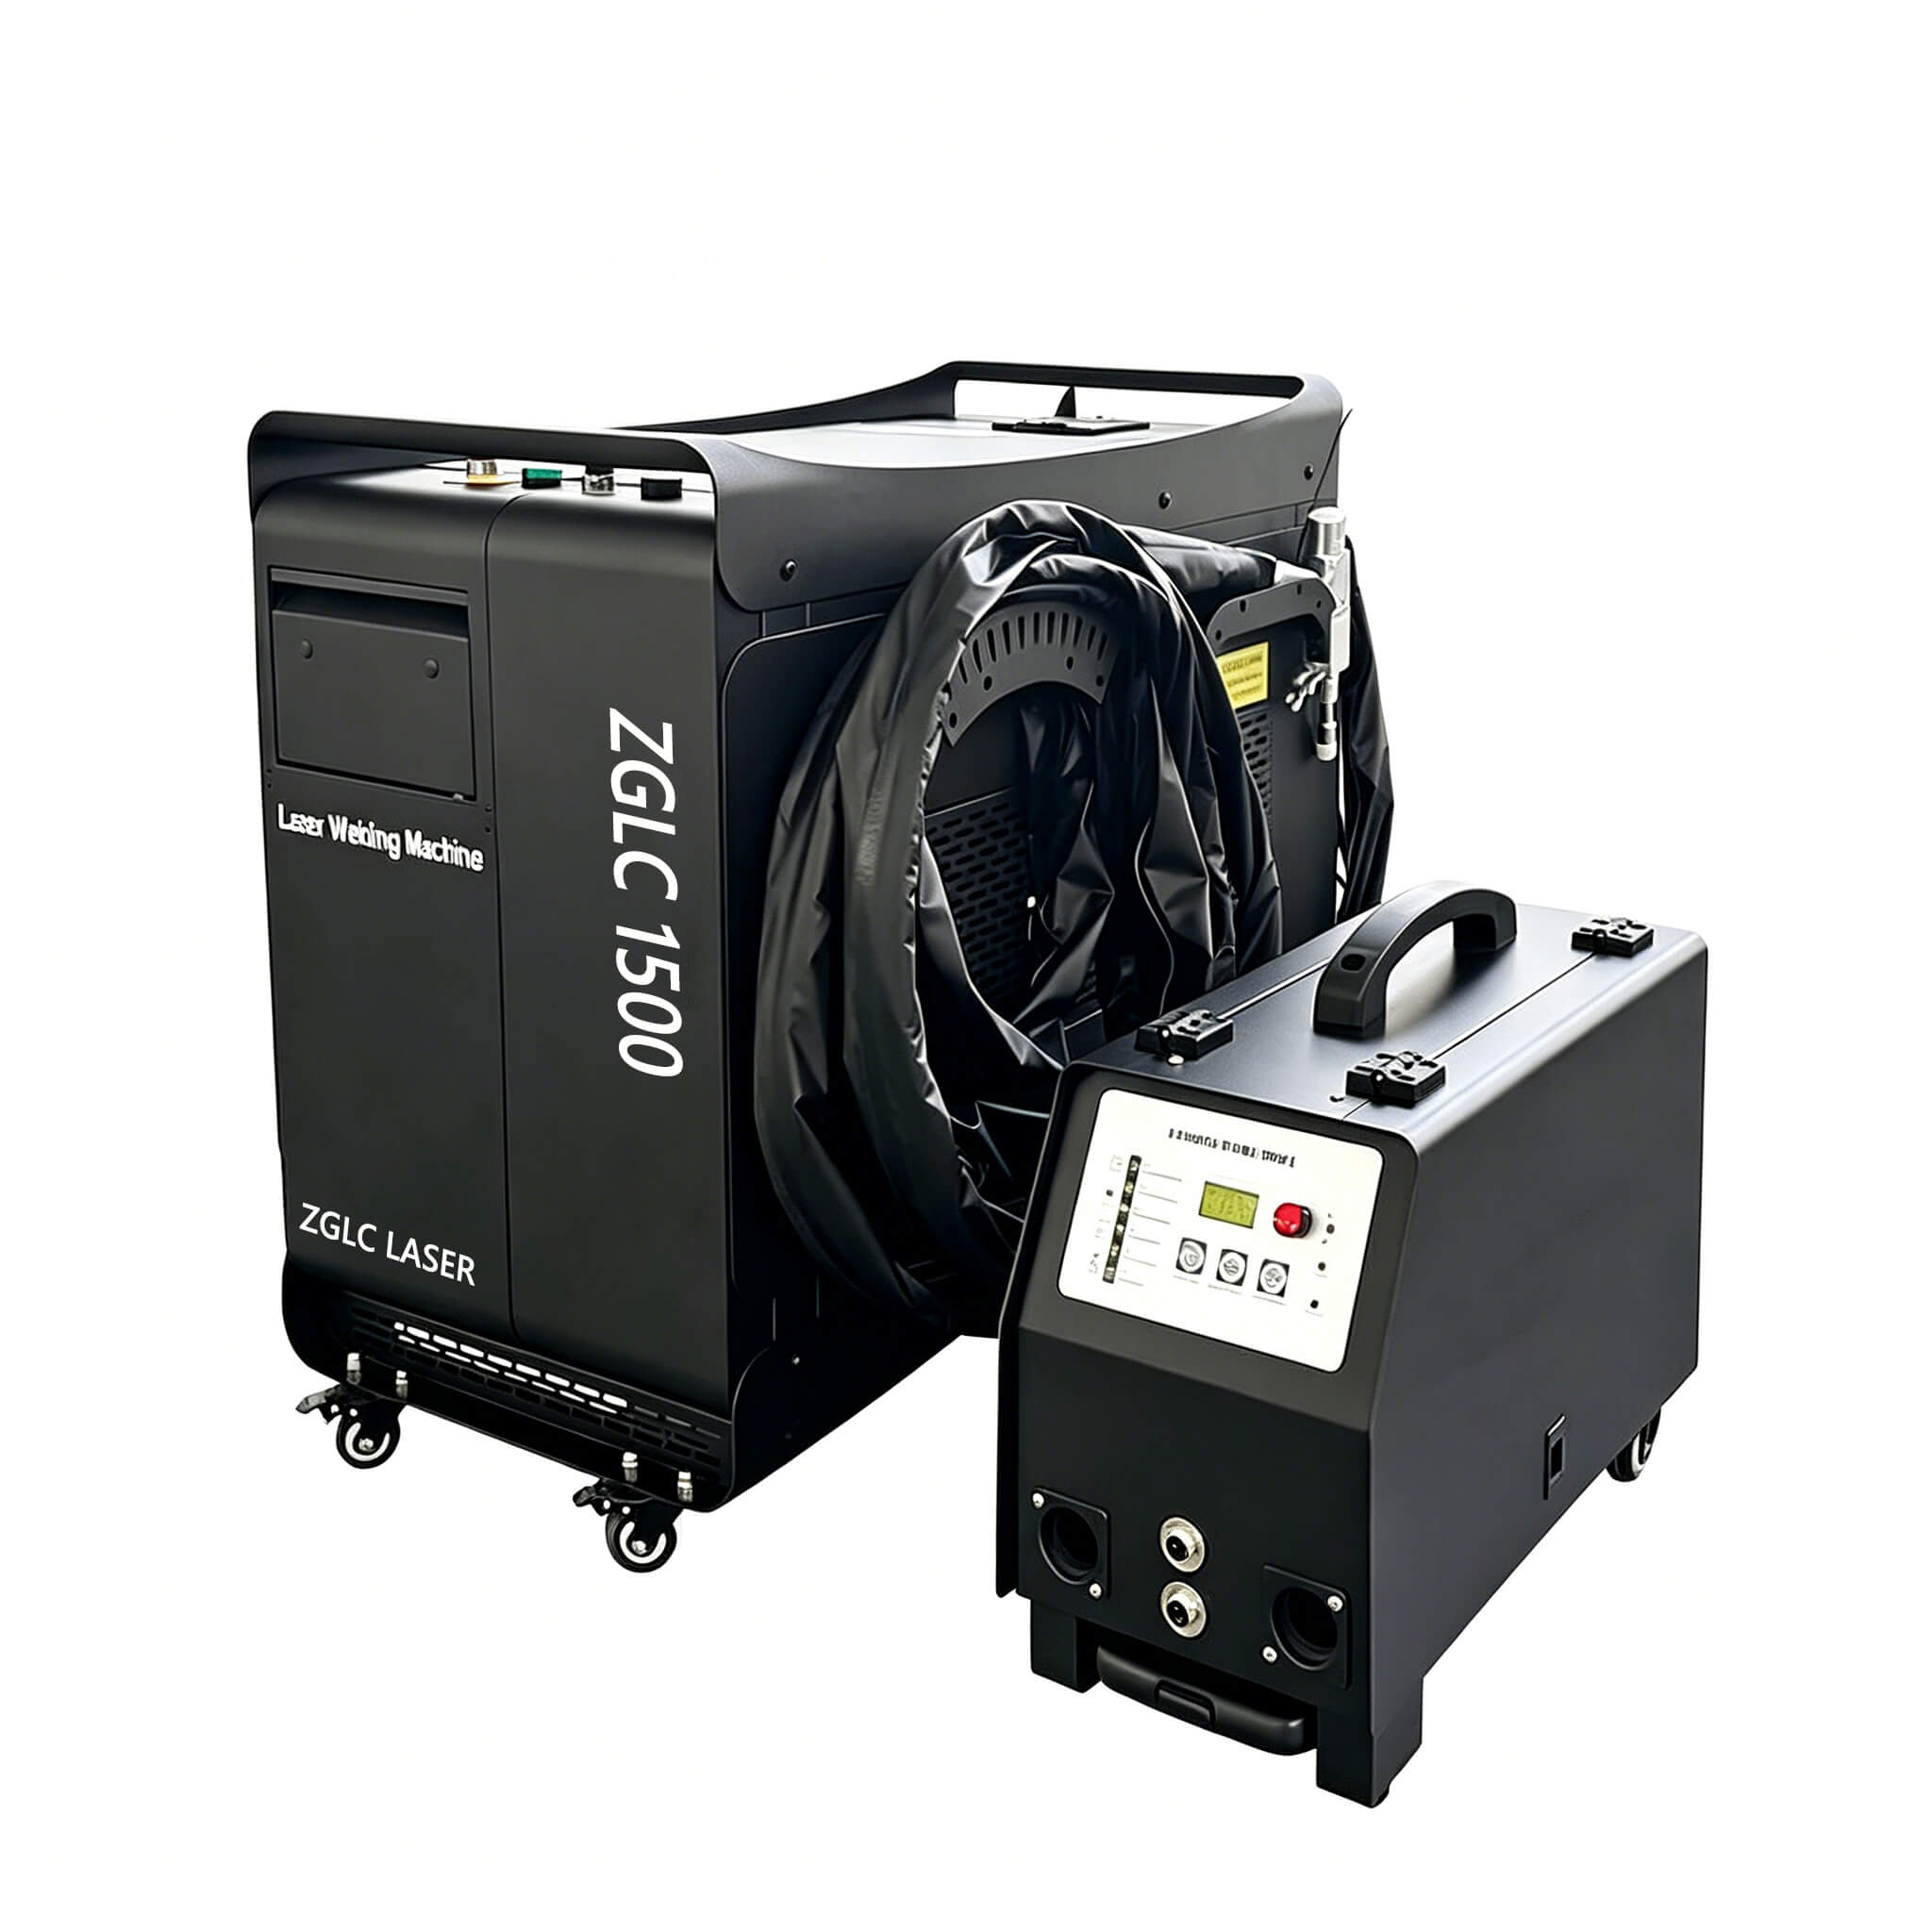
Not all handheld laser welders are created equal. At HJYC, we engineer our machines for reliability and ease of use, minimizing the need for laser welding troubleshooting. Here’s a quick comparison of our core models:
| Feature | Air-Cooled Series | Water-Cooled Series |
|---|---|---|
| Laser Power | Up to 1500W | 1500W - 3000W |
| Cooling Method | High-Efficiency Fan | Integrated Water Chiller |
| Weight | Very Lightweight (e.g., ~20kg / 44 lbs) | Heavier (e.g., ~200kg / 440 lbs) |
| Best For | On-site repairs, thin sheets, short jobs | High-demand production, thick materials, continuous operation |
| Work Voltage | Standard 110V/220V | Standard 220V |
| Key Advantage | Ultimate Portability | Unbeatable Power & Stability |
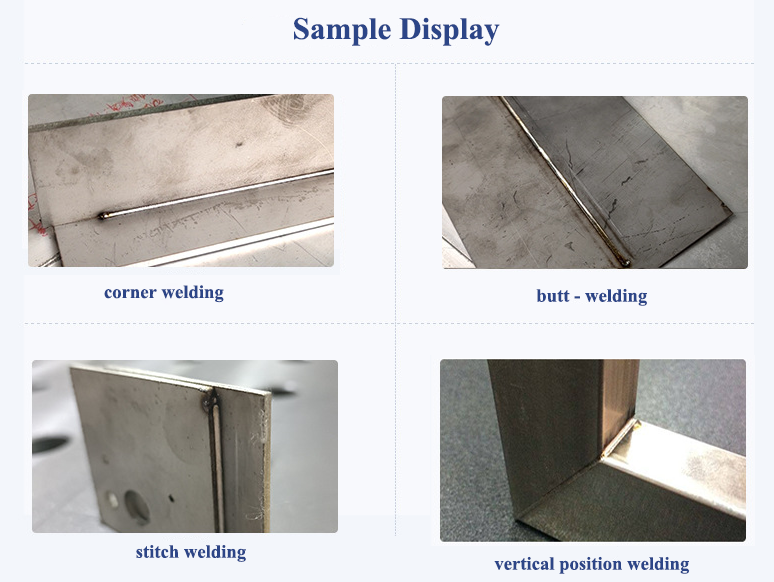
Why are HJYC welders the superior choice?
-
Reliability: Our robust cooling systems prevent overheating, the main cause of performance issues.
-
Ease of Use: Intuitive controls make it easy to find the right settings, preventing common problems before they start.
-
Built to Last: We use premium components to ensure your handheld laser welder maintenance is minimal and your machine stays productive for years.
Conclusion
Mastering basic handheld laser welder maintenance and laser welding troubleshooting is the secret to flawless results. By following a simple care schedule and knowing how to fix common issues, you protect your investment and guarantee superior welding quality. A well-maintained HJYC laser welder isn't just a tool; it's your partner in achieving fast, clean, and strong welds every single day.
A Deep Learning-Based Vision System for Robot Laser Welding: Seam Tracking and Gap Width Estimation
Key Parameters Setting For Laser Welding Machine
Related Article